
A while ago I built the 40022 Highboy kit, which was a big commitment of time, but a beautiful piece of furniture to ad to some product shots I wanted to do for a company that was offering roomboxes.
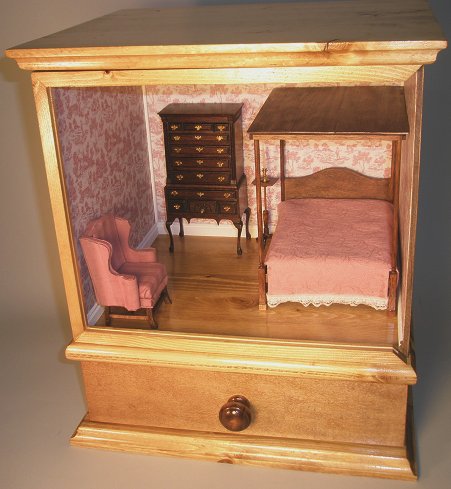
Here is the setting that the Highboy kit went into. The box is nice, the paper is lovely, the floor is shiny, and the bedding is… passable. But it is the Highboy that really shows the room off.
If you’re going to build a big kit like this, you might as well do it right, so I decided to do a few extra steps with this build.
The Extras
To make the finish really shine, I decided to go with a glossy stain and to wax the finished piece, as well. Carnauba wax is easy to apply and buffs up beautifully.
I also replaced the standard hardware with working bale pulls from HBS. I don’t know what it is about seeing those tiny handles moving and hearing them click. It sort of transports me back to 1790 or something!
Finally, I had been practicing the process of carving claw and ball feet onto the cabriole legs of the kits, so I wanted to do that for the Highboy kit. It is hard to carve tiny shapes into soft wood, but it really looks authentic (from a distance). I talk more about adding details in this article.
The Highboy Kit
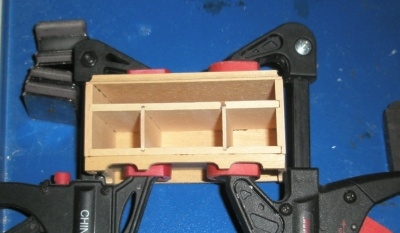
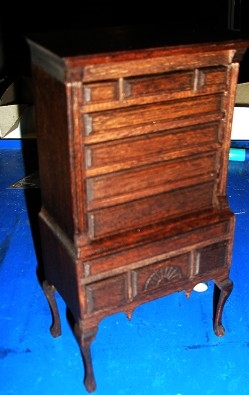
I was very fortunate with this kit. It had been sealed for the 20-odd years of its shelf life. Very few of the panels, some quite large, were warped. I did need to tightly clamp a few parts to get them to lay square, but all came out fairly well.
The House of Miniatures™ kits are really excellent. They are very consistently cut to the right dimensions and the grain is very uniform. Even the routing work is very good.
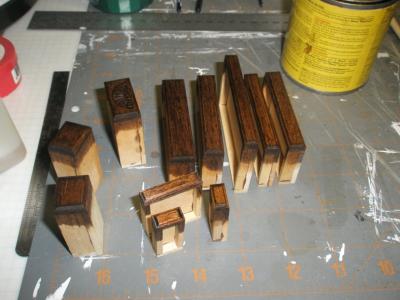
I was careful to color my glue well and to build up the stain so that the shades matched well on all of the pieces (see technique here). Every drawer stayed square and fit well the first time.
You do need to watch out when sanding. There are some pieces that require sanding, even on the Highboy kit. But don’t get carried away, especially on routed pieces. It is very easy to round corners that should be sharp. You might even nick off an edge (yikes).
Everything fit so well the first try that I hardly felt any frustration with this old kit. I had to do some sanding of a few joints and build up a little more stain on some pieces, but overall it just seemed to want to be built.
Once assembled the legs were a little uneven. About ten minutes with an emery board is all it took to get it rock steady.
Finishing
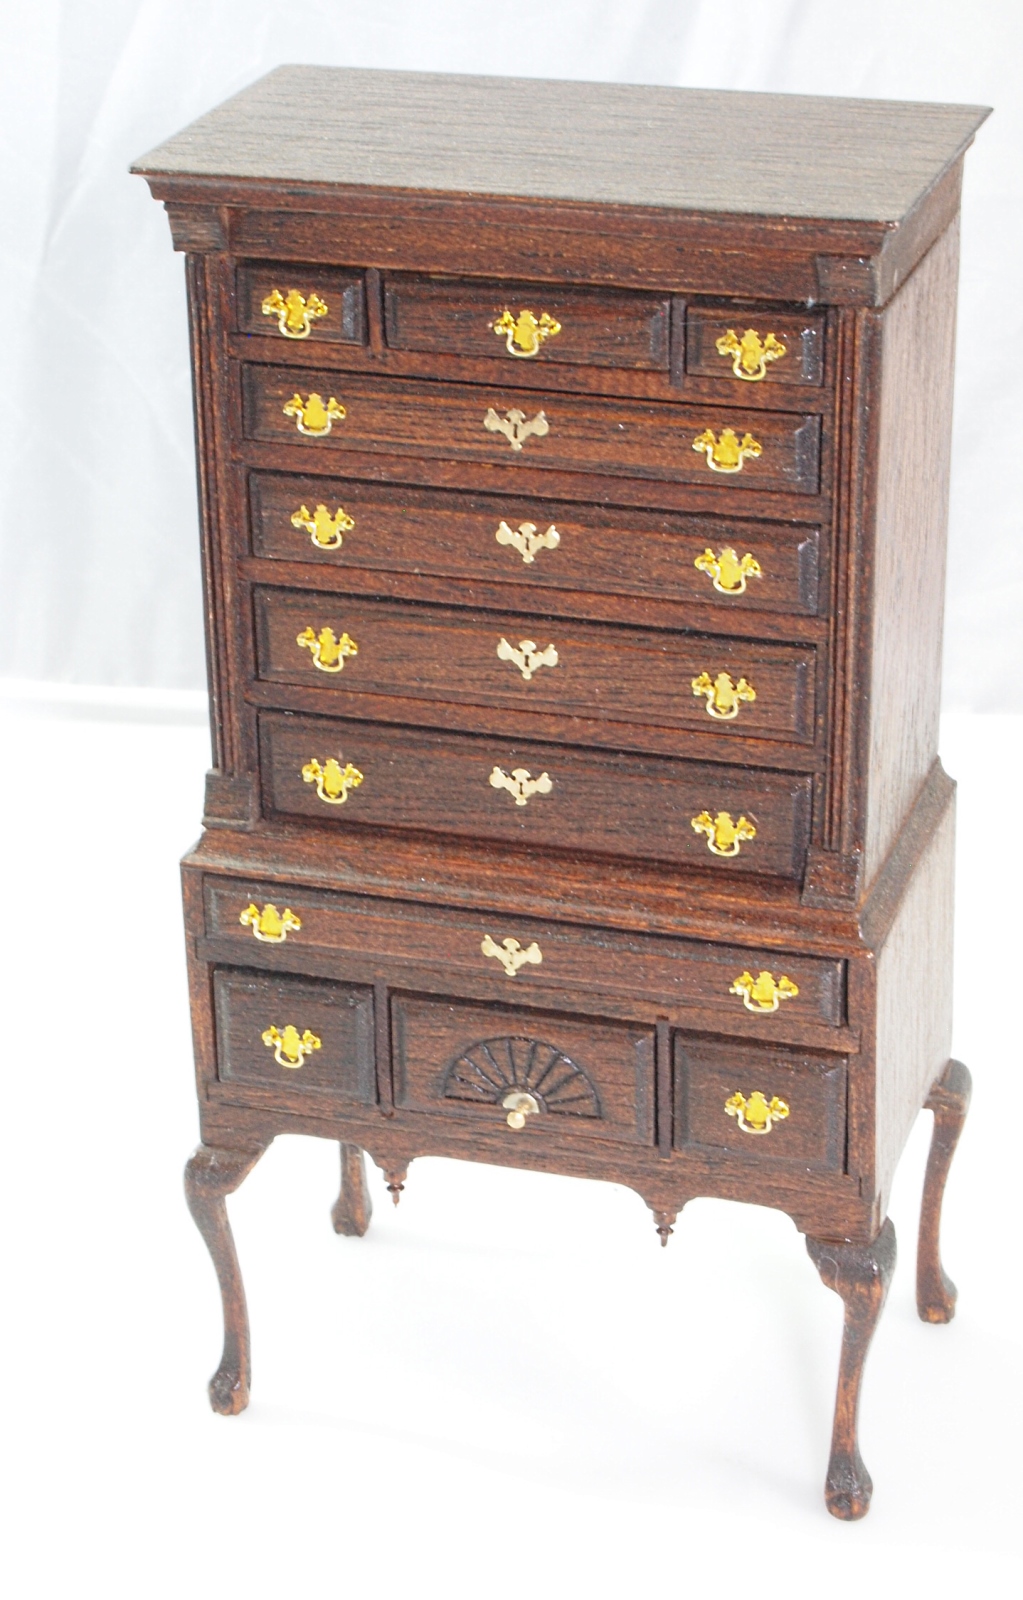
A high gloss polyurethane can be fussy and look thick when completed, so I did a semi-gloss and then the wax and buff to get a great shine that still looks kind of old. The final product is fairly impressive, though more understated than the ostentatious Broken Bonnet Highboy kit.
Here it is; look at those cute little bale pulls! And the tiny claw and ball feet. Yes, the verdict is obvious: I totally love the Flat Top Highboy kit. How about you?
It’s beautiful, turned out very well. I’m still looking for that kit, maybe one day I will find it.