Do I Stain or Build First?
I know the first question the first customer to receive a The House of Miniatures kit asked. “Should I stain the pieces before I build the kit, or should I build first?”
All About the Grain
Let’s talk about the properties of wood for a moment. Most of the wood in these kits is “Philipine mahogany”. Some of the ad copy simply says mahogany. This is not the wood Americans or Europeans call mahogany. It’s closer to, but not quite, basswood. It takes stain well and has a fine grain. Because it is soft, it is also easy to work with when sanding and shaping.
Soaking It In
The soft wood allows liquids to soak in. This is useful when staining, and also when gluing. It is not helpful when painting. Plus, the soft wood swells a bit when wet and could also warp.
Here’s the rub: stain won’t soak in through glue, and stain can hinder absorption of glue. You want the stain to soak in for a nice finish. You need the glue to soak in for a strong bond. Here’s how it breaks down…
Stain can cause the wood to:
- swell
- warp
- refuse glue into the grain
Obviously, any of the above are unwanted, especially before you build the kit. Parts won’t fit, they may become warped, or small parts like legs will break off easily with age.
More Bad Outcomes
Besides the major considerations, staining before building means you will touch the stained parts as you build. Handling the pigment with bare hands can be unhealthy (use gloves) and will introduce fingerprints and oils into the finish.
You may find fitment issues require additional sanding. That could mean removing pigment and having to re-stain sections, causing an uneven color. Counterintuitively, staining parts ahead may also lead to an uneven finish. You will not likely have the parts laid out next to those they will be adjacent after assembly.
The Problem With Gluing First
I’ve given good reasons to build first. But what about stain not sinking in over glue that gets into the wrong places? It’s unsightly and very hard to prevent, isn’t it? Yes, it can be. But stacked up against the many issues listed above, gluing first is almost always the better option.
Don’t jump from the glue mess pan into the stain first fire. Fix the glue mess issue? Here are three things you can do to mitigate the mess.
How To Glue Better
The best mitigation for the consequences would be not to have a mess in the first place, right? You need the right amount of glue to make a great bond. But not too much so that it squeezes out and gets where it shouldn’t.
One way is to put a thin film of glue on each mating surface. Let it sit a minute before putting them together. The way this works is, the glue has some time to sink in to both pieces. It starts to firm up before you connect the two pieces. Don’t wait so long that the glue is firm or rubbery. Just long enough to let it soak into the grain of the wood. Glue sticks to glue, so there’s a happy connection with hardly any chance for mess.
Another way to avoid mess is to use a small brush to apply water around the glue joint. The water will fill the grain of the wood. When you glue the pieces together, glue may squeeze out of the join. It will be easier to clean up if wet. You can use a moist cotton swab or tissue to clean excess glue away before it soaks in.
The Official Answer: Build First
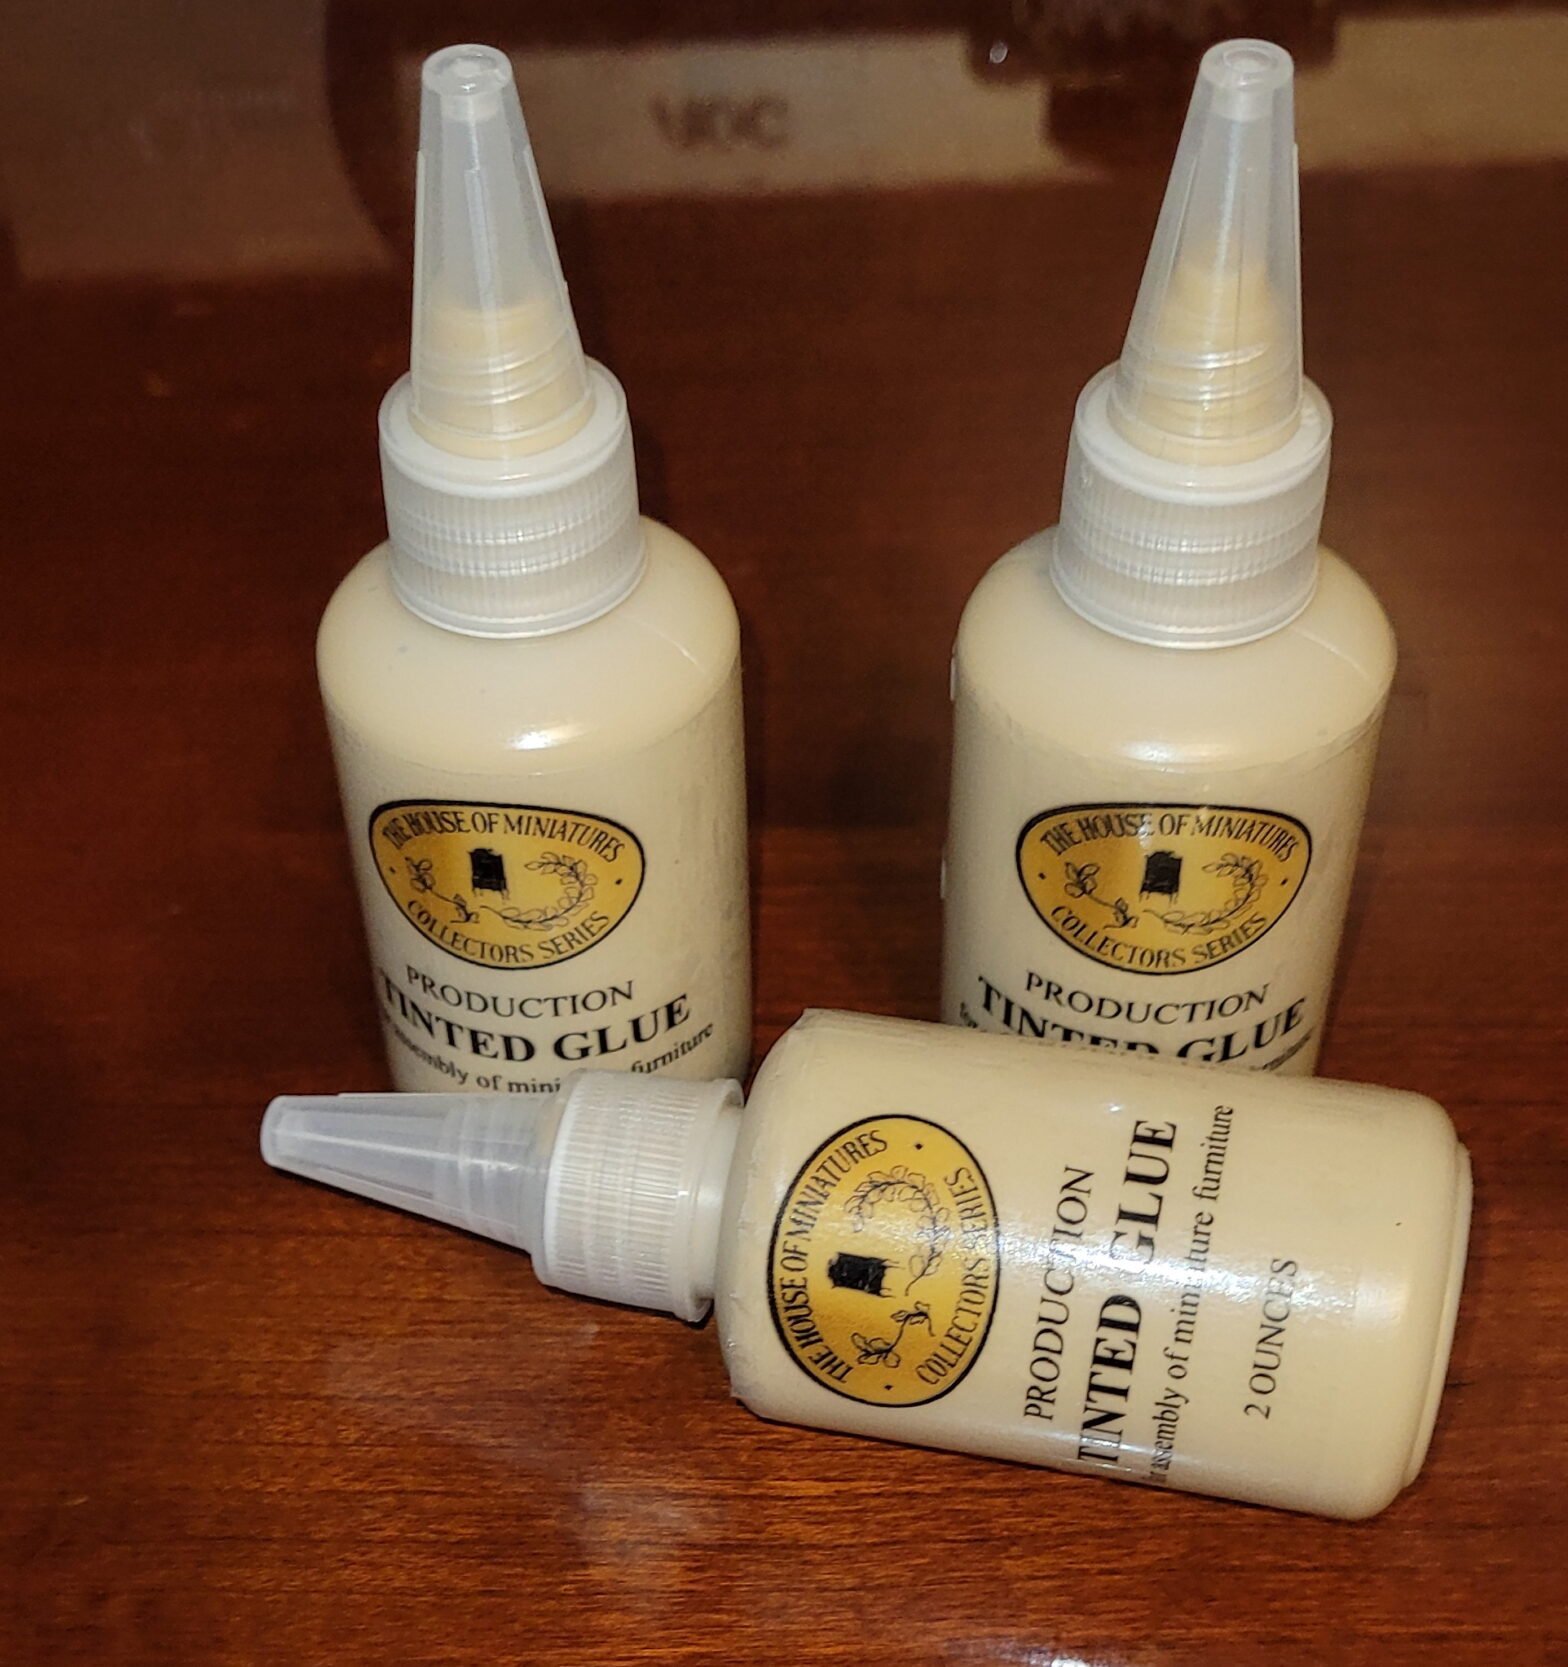
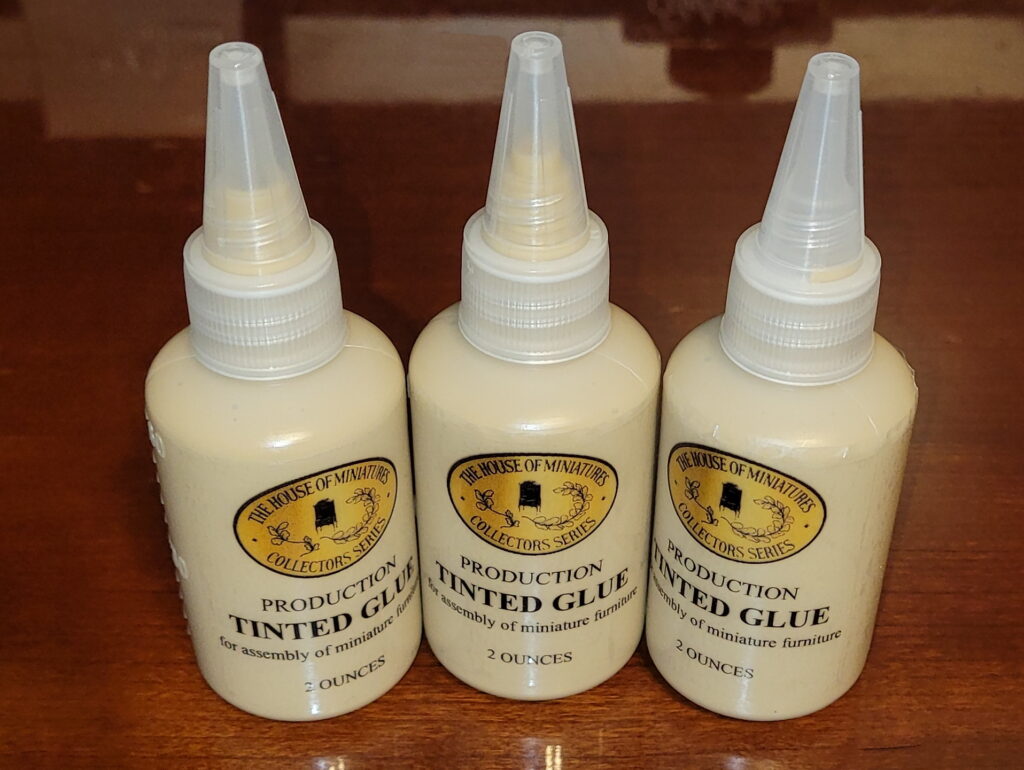
The House of Miniatures’ recommended method is the best, in most cases. So why not use that? It recommends using “Tinted Glue”, which is a wood glue that dries dark, like mahogany or walnut stains., thus hiding the seams. It soaks into the wood and it stays flexible, maintaining the integrity of the bond for decades. Also use the other methods above as good gluing practices. And sand off any areas where glue shouldn’t be, before staining.
You don’t have to buy special glue when you build first, though. You can make your own. For many years, I simply added a little Burnt Umber acrylic hobby paint to my Elmer’s wood glue. With practice, you can get any tint you want, from oak-ish to walnut, by adjusting the amount of paint you add.
Finishing Touches
Whichever glue you use, an emery board is a big help cleaning up the area around the joint. After you’ve wiped away any excess and let it dry completely, of course.
Two Exceptions to Building First
Have already built kits that have pale spots from where glue kept the stain from sinking in? Painting over the spot is better than leaving it with the offending uncolored spot. It is hard to match the color, but you have a couple of tries to get it right.
When repairing a finished kit, you can’t go back and start from the bare wood. Nor can you when putting legs on upholstered pieces. Whenever you need to stain before gluing, I recommend Testor’s Wood Glue. (I wrote about Testor’s Wood Glue here.) It dries fast, is clear, and is able to make its bond on the surface. This formula does not need to soak in. However, it is more brittle than normal wood glues, but it is serviceable.
Paint? Noooooo!
It is akin to sacrilege to paint THoM kit. But if you veer off into that world you have little to fear from being messy with glue. However, I can recommend a light coat of wood finish to seal the wood before painting. Lightly scuff before painting. That will save you doing two coats of paint. And it will be easier to remove the paint when you come to your senses! :-p