
Nothing says Chippendale to me like a cabriole leg with a ball-and-claw foot. There are other treatments that are common, like the pad foot. But claws stir up images of gargoyles and other ornate designs.
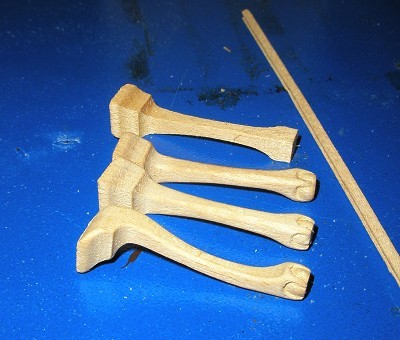
Fortunately, The House of Miniatures™ kits that come with cabriole legs leave us with a blank canvas. There is no foot detail, just a box. Unfortunately, the wood we have to work with is quite soft and does not stand up to much detail carving.
Keep Your Eye on the Ball

In a previous article, I suggested one secret I have found for Carving Ball-and-Claw feet. Pay attention to the ball rather than the claw. If you can make a round ball while leaving a few strands of wood at the corners, the shape of the claw will render itself. The wood isn’t really hard enough to make well-defined talons. So if you can make a smooth, rounded ball you will have carried off the illusion fairly well.
Outline
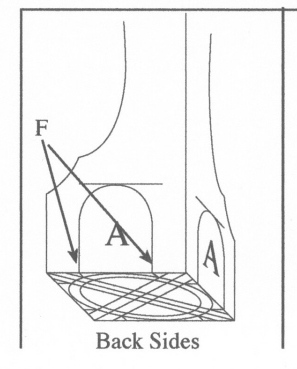
The kits will have either two or four cabriole legs and you will want to start with a pencil, making an upside down U shape on all four sides of the foot and a circle on the bottom. This is the technique used for full sized feet and seems to work really well in scale, also.
Notice that they have you stay back away from the corners. That’s because you can always take away more material later, but you can never add any back!
Cutting
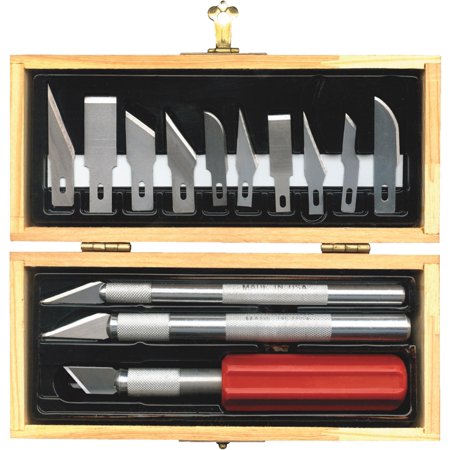
I have a couple for different sets of X-Acto knives, but I generally use only the smallest handle and the smallest blade. Sometimes I use a blade with an inward curve when carving, but this work is so tiny that mostly what you need is very short cuts.
Start out cutting straight in along your U shaped lines. Then remove wood by cutting at an angle from the inside of the U toward the first cut. At first just imagine a cylinder in the middle of the foot, then you can round the lower part of the ball later.
Carving Ball-and-Claw feet is not easy and it will take awhile to remove material. Don’t be in a hurry. Blood is not a good stain for this wood. Too uneven! Little by little, remove wood by bits.
Filing and Sanding
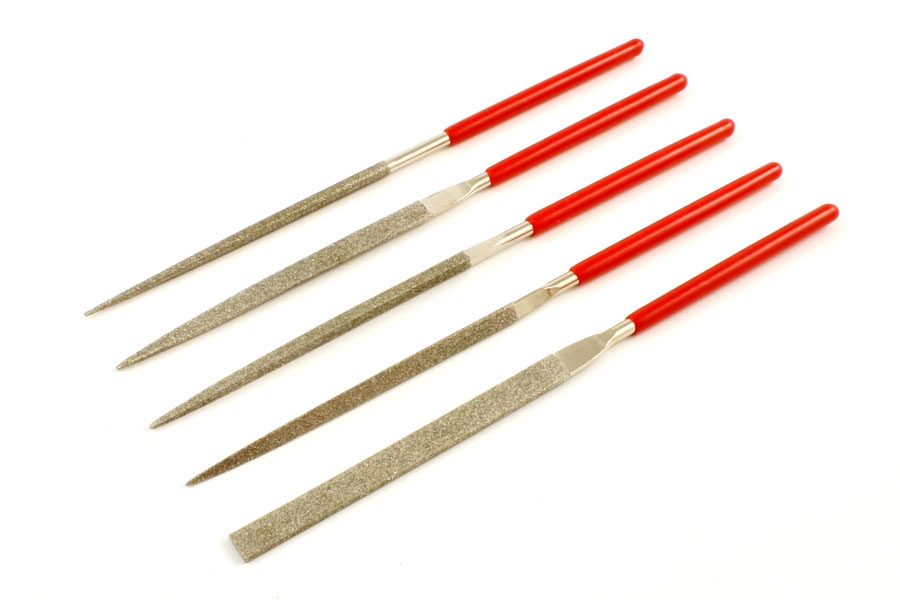
Carving with a blade will give you a basic design that you will smooth out and define using a small file (like these needle files) or an emery board. Be sure to smooth out the ball as much as possible so that the surface will become shiny once it is stained and finished with polyurethane.
I’ve tried a few things, like a cuticle cutting tool to clean out the little corners where the ball becomes a claw, but nothing seems to work as well as a freshly folded sheet of sand paper. A little piece of 320-grit wet-or-dry paper will do the trick.
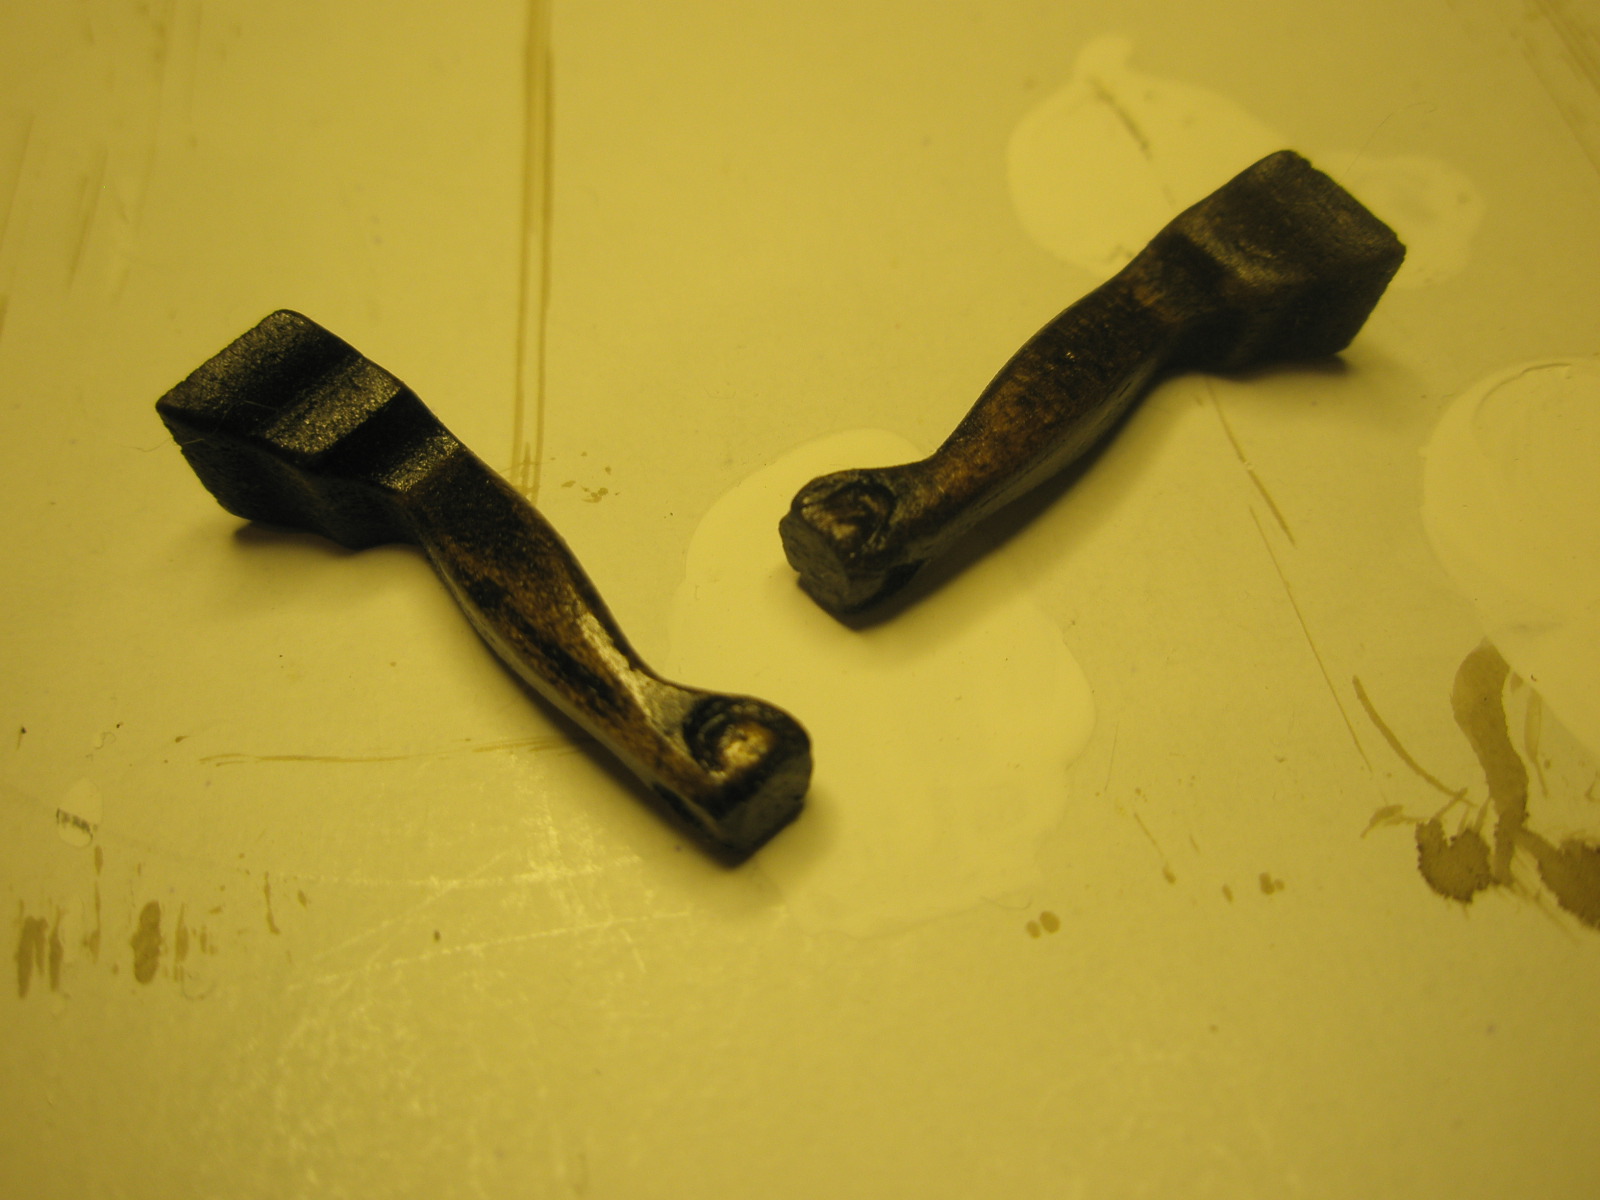
The completed legs look decent in dark stain with a semigloss finish. When the ball catches the light it helps to outline the claw due to the shadow in the groove.
When you get good at this technique you will want to use a lighter stain so that more of the detail can be seen.
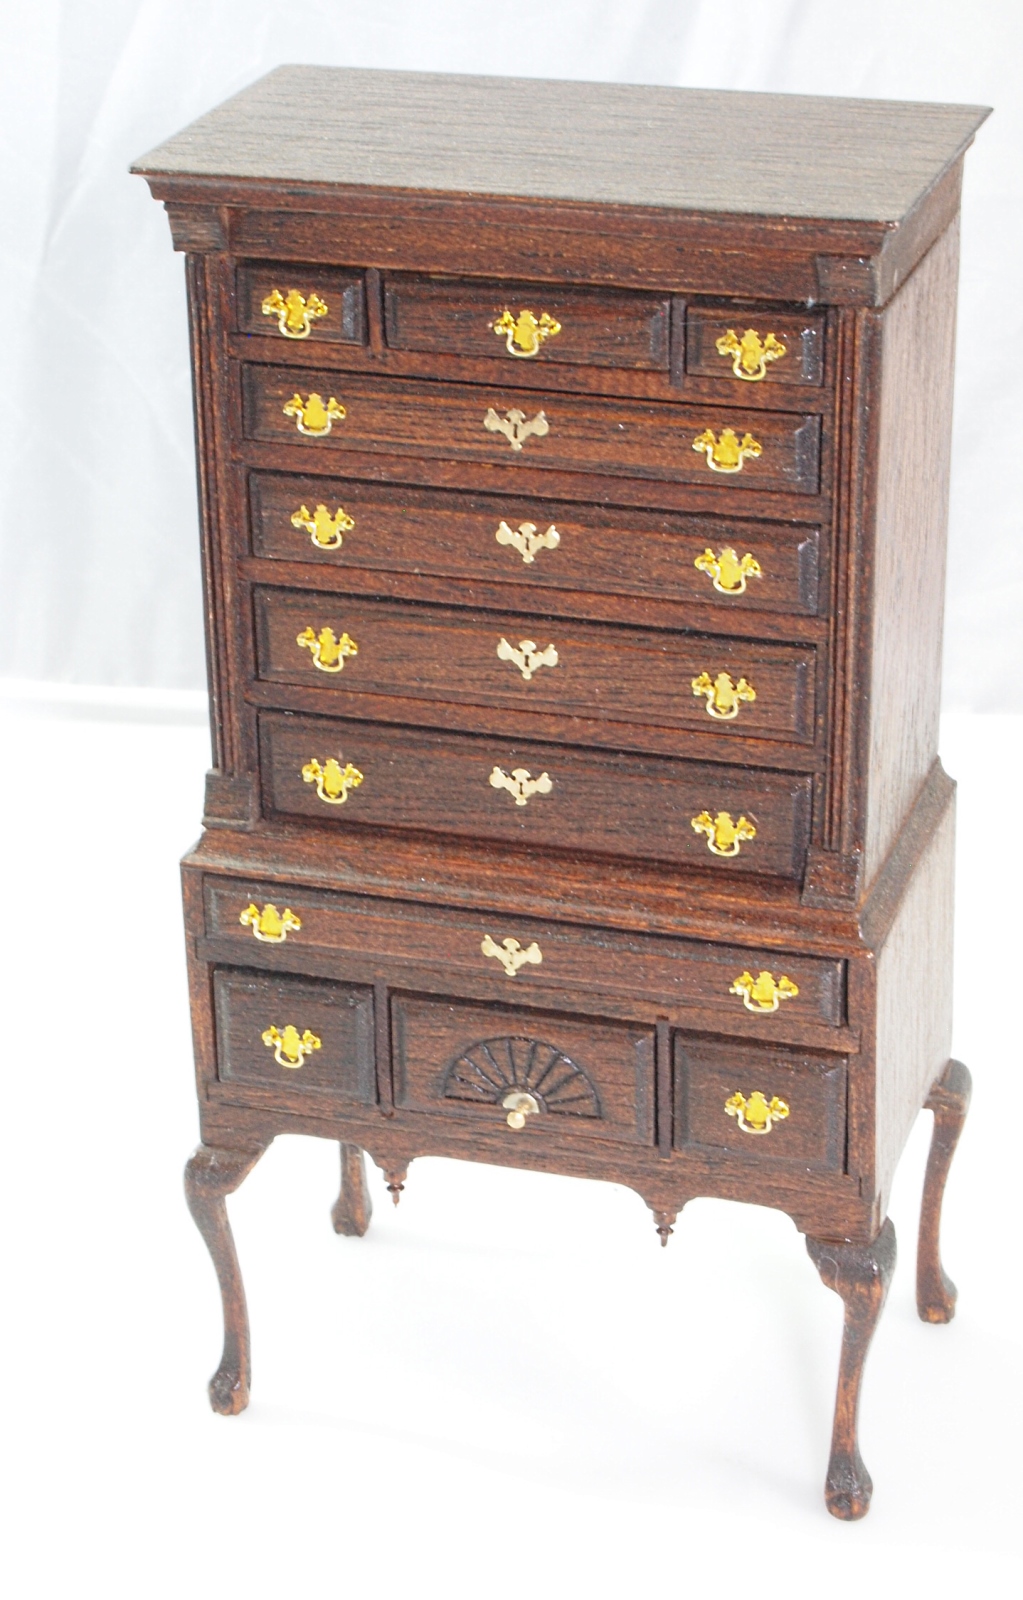
I had been carving Ball-and-Claw feet for awhile before I did a set on a Chippendale highboy kit. It really made a difference on that kit to have the extra detail. I think I’ll practice awhile longer before I add them to the Broken Bonnet highboy!
Have you tried this? Please share your experience in the comments, or come over and join the Facebook Group where you can share your photos.
1 comment
Comments are closed.