

In a previous article I mentioned that using miniature working bale hardware in place of the standard kit hardware is a great way to upgrade The House of Miniatures™ kits. In this article I demonstrate the use of the spade eyelet style of bale and mention the cotter pin type in contrast.
Two Styles of Working Bale
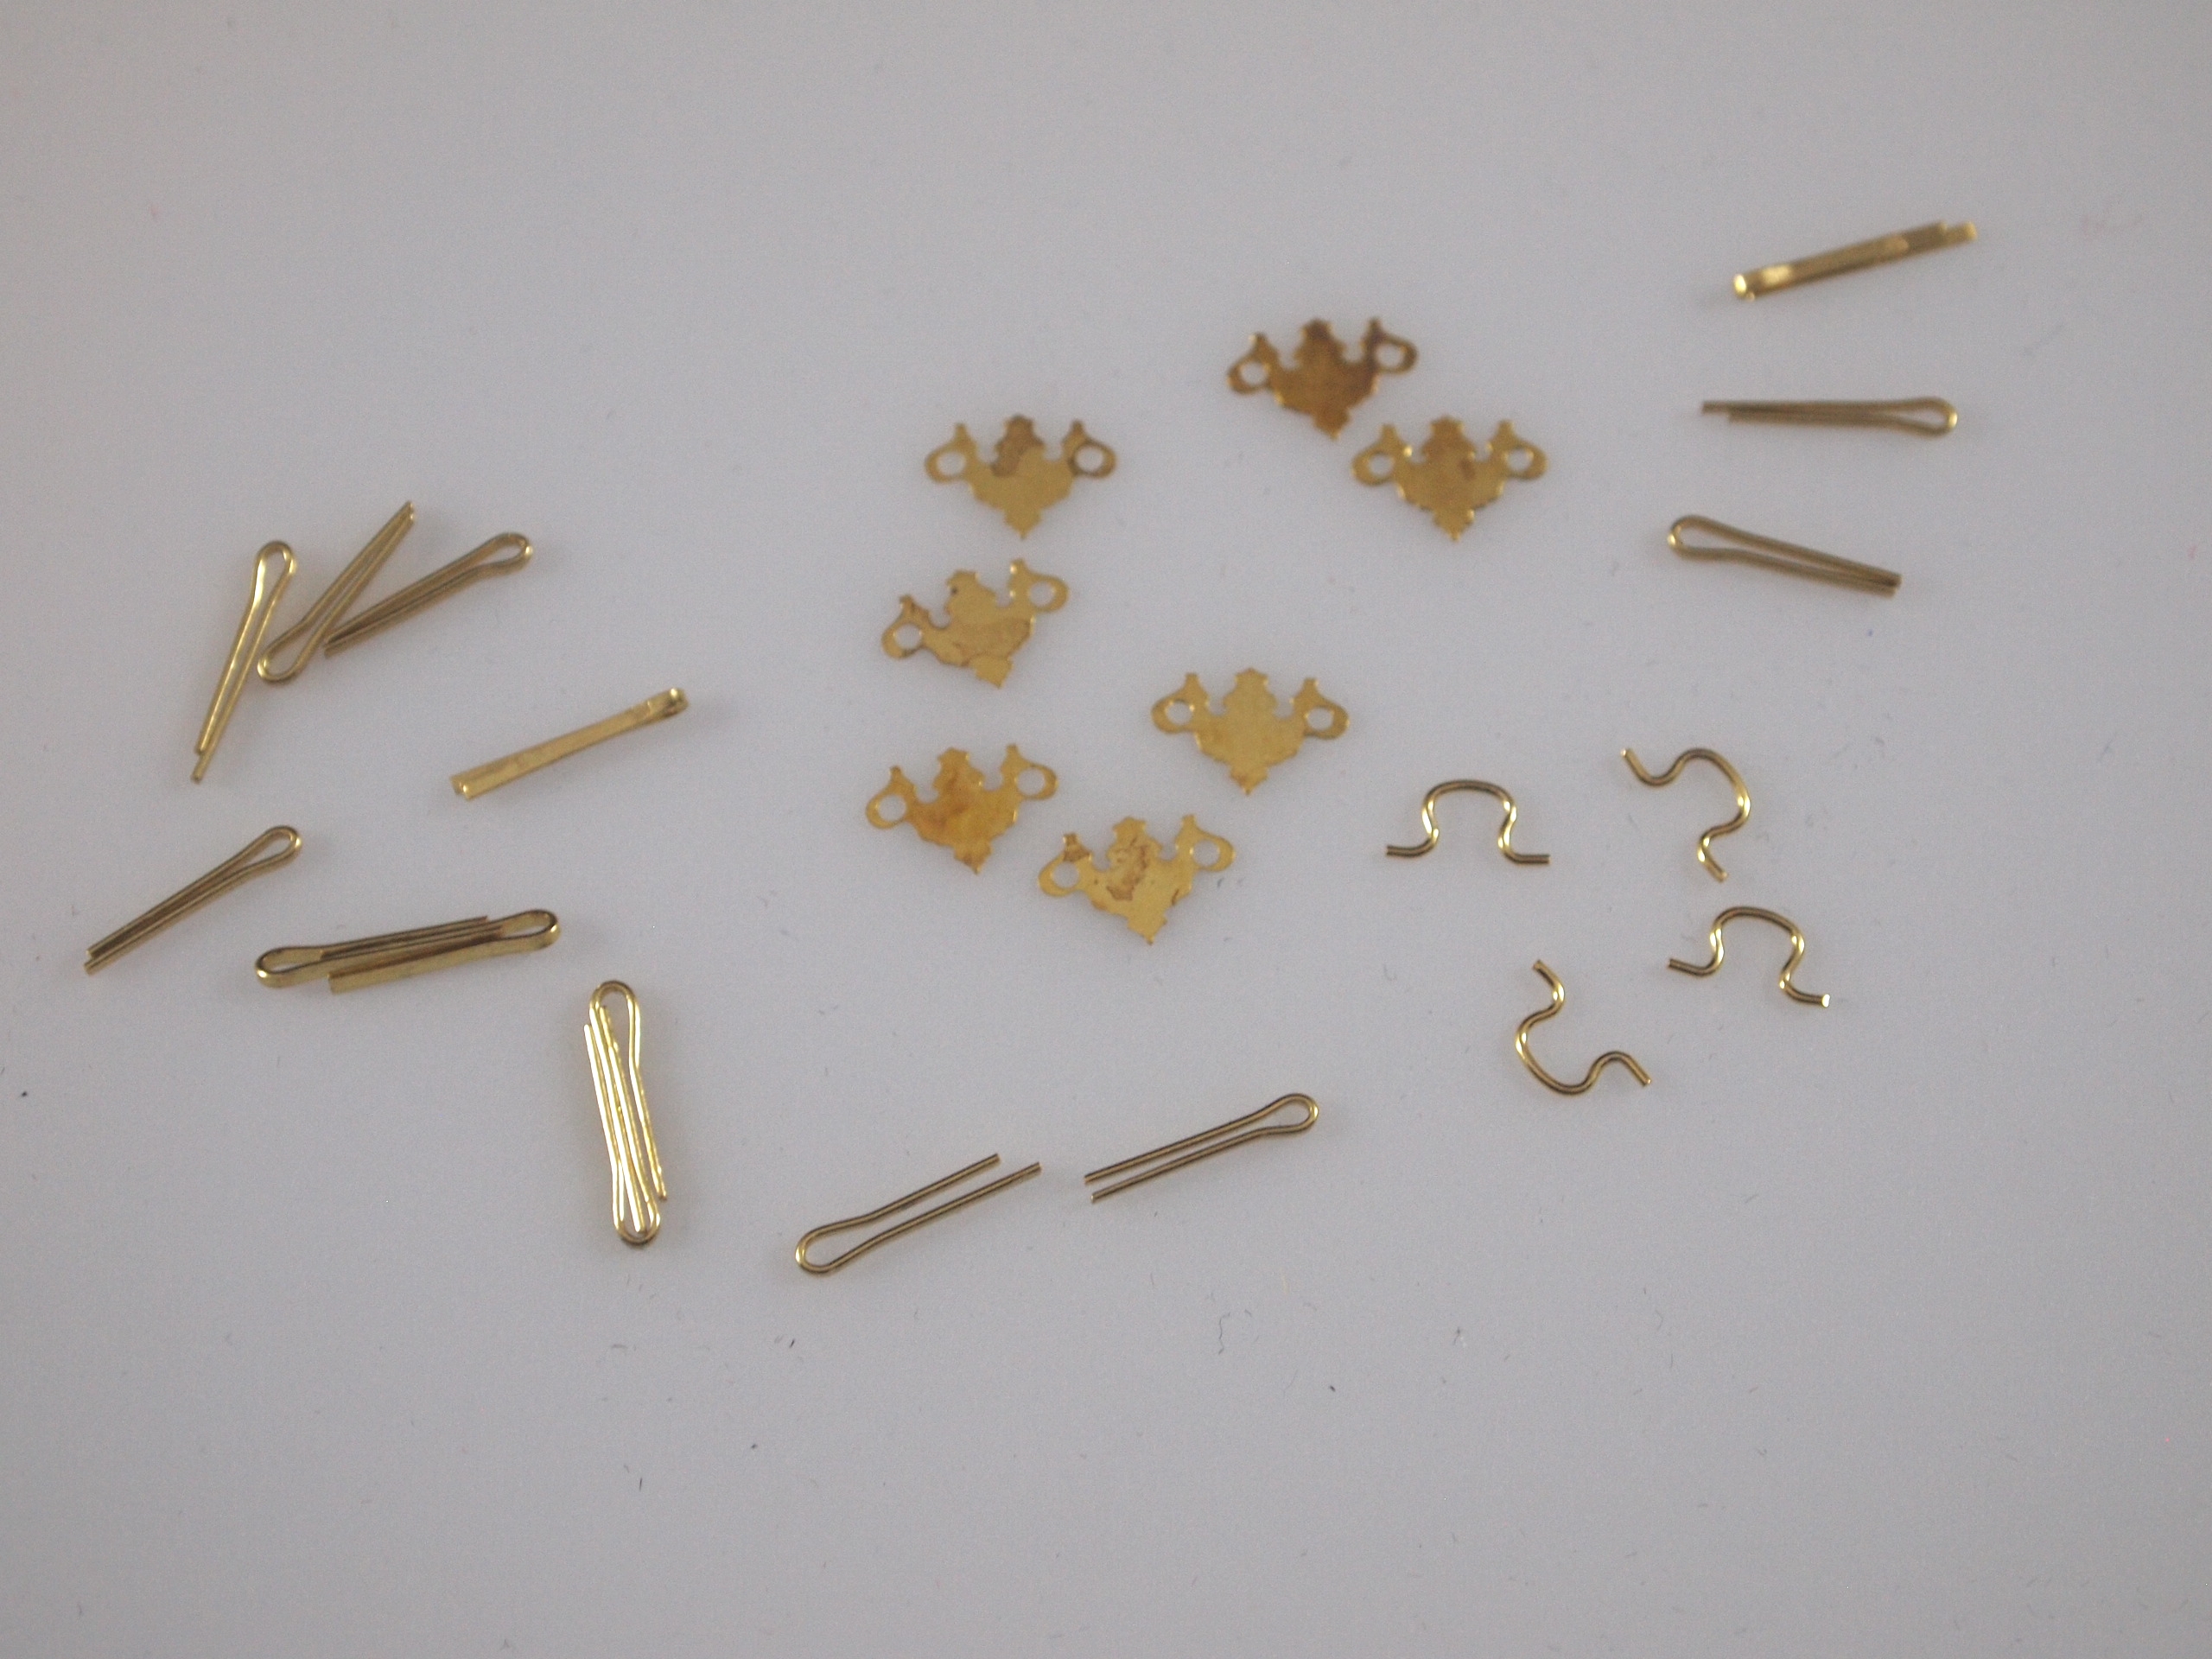
Over the years I have used two the two different styles of the Bale and Escutcheon
miniature working bale hardware, both sold by HBS on miniatures.com at various times. The cotter pin type shown here is the one I find both easier to use and most authentic looking. The spade eyelet style above has the one advantage of easier placement of the bale.
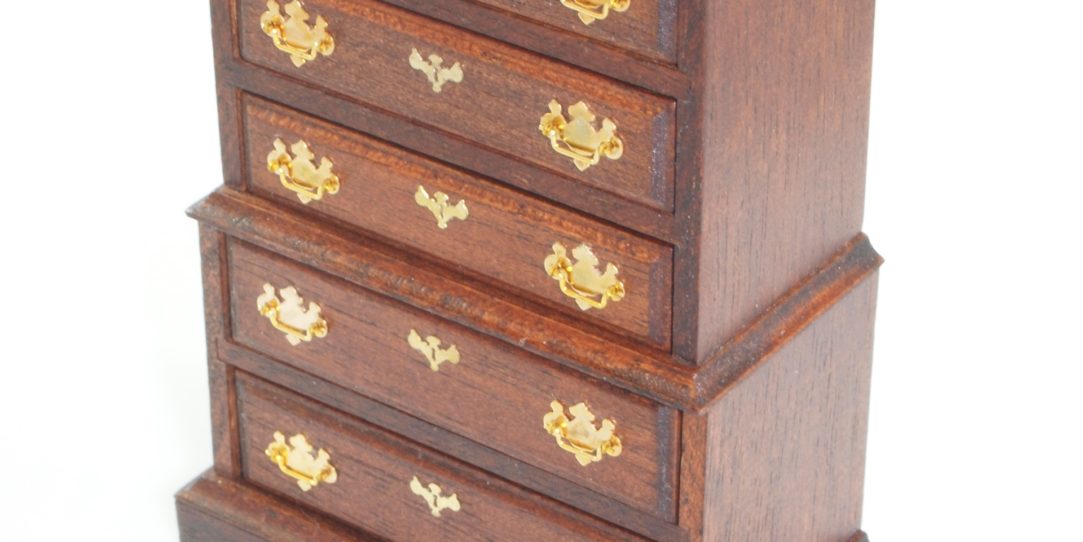
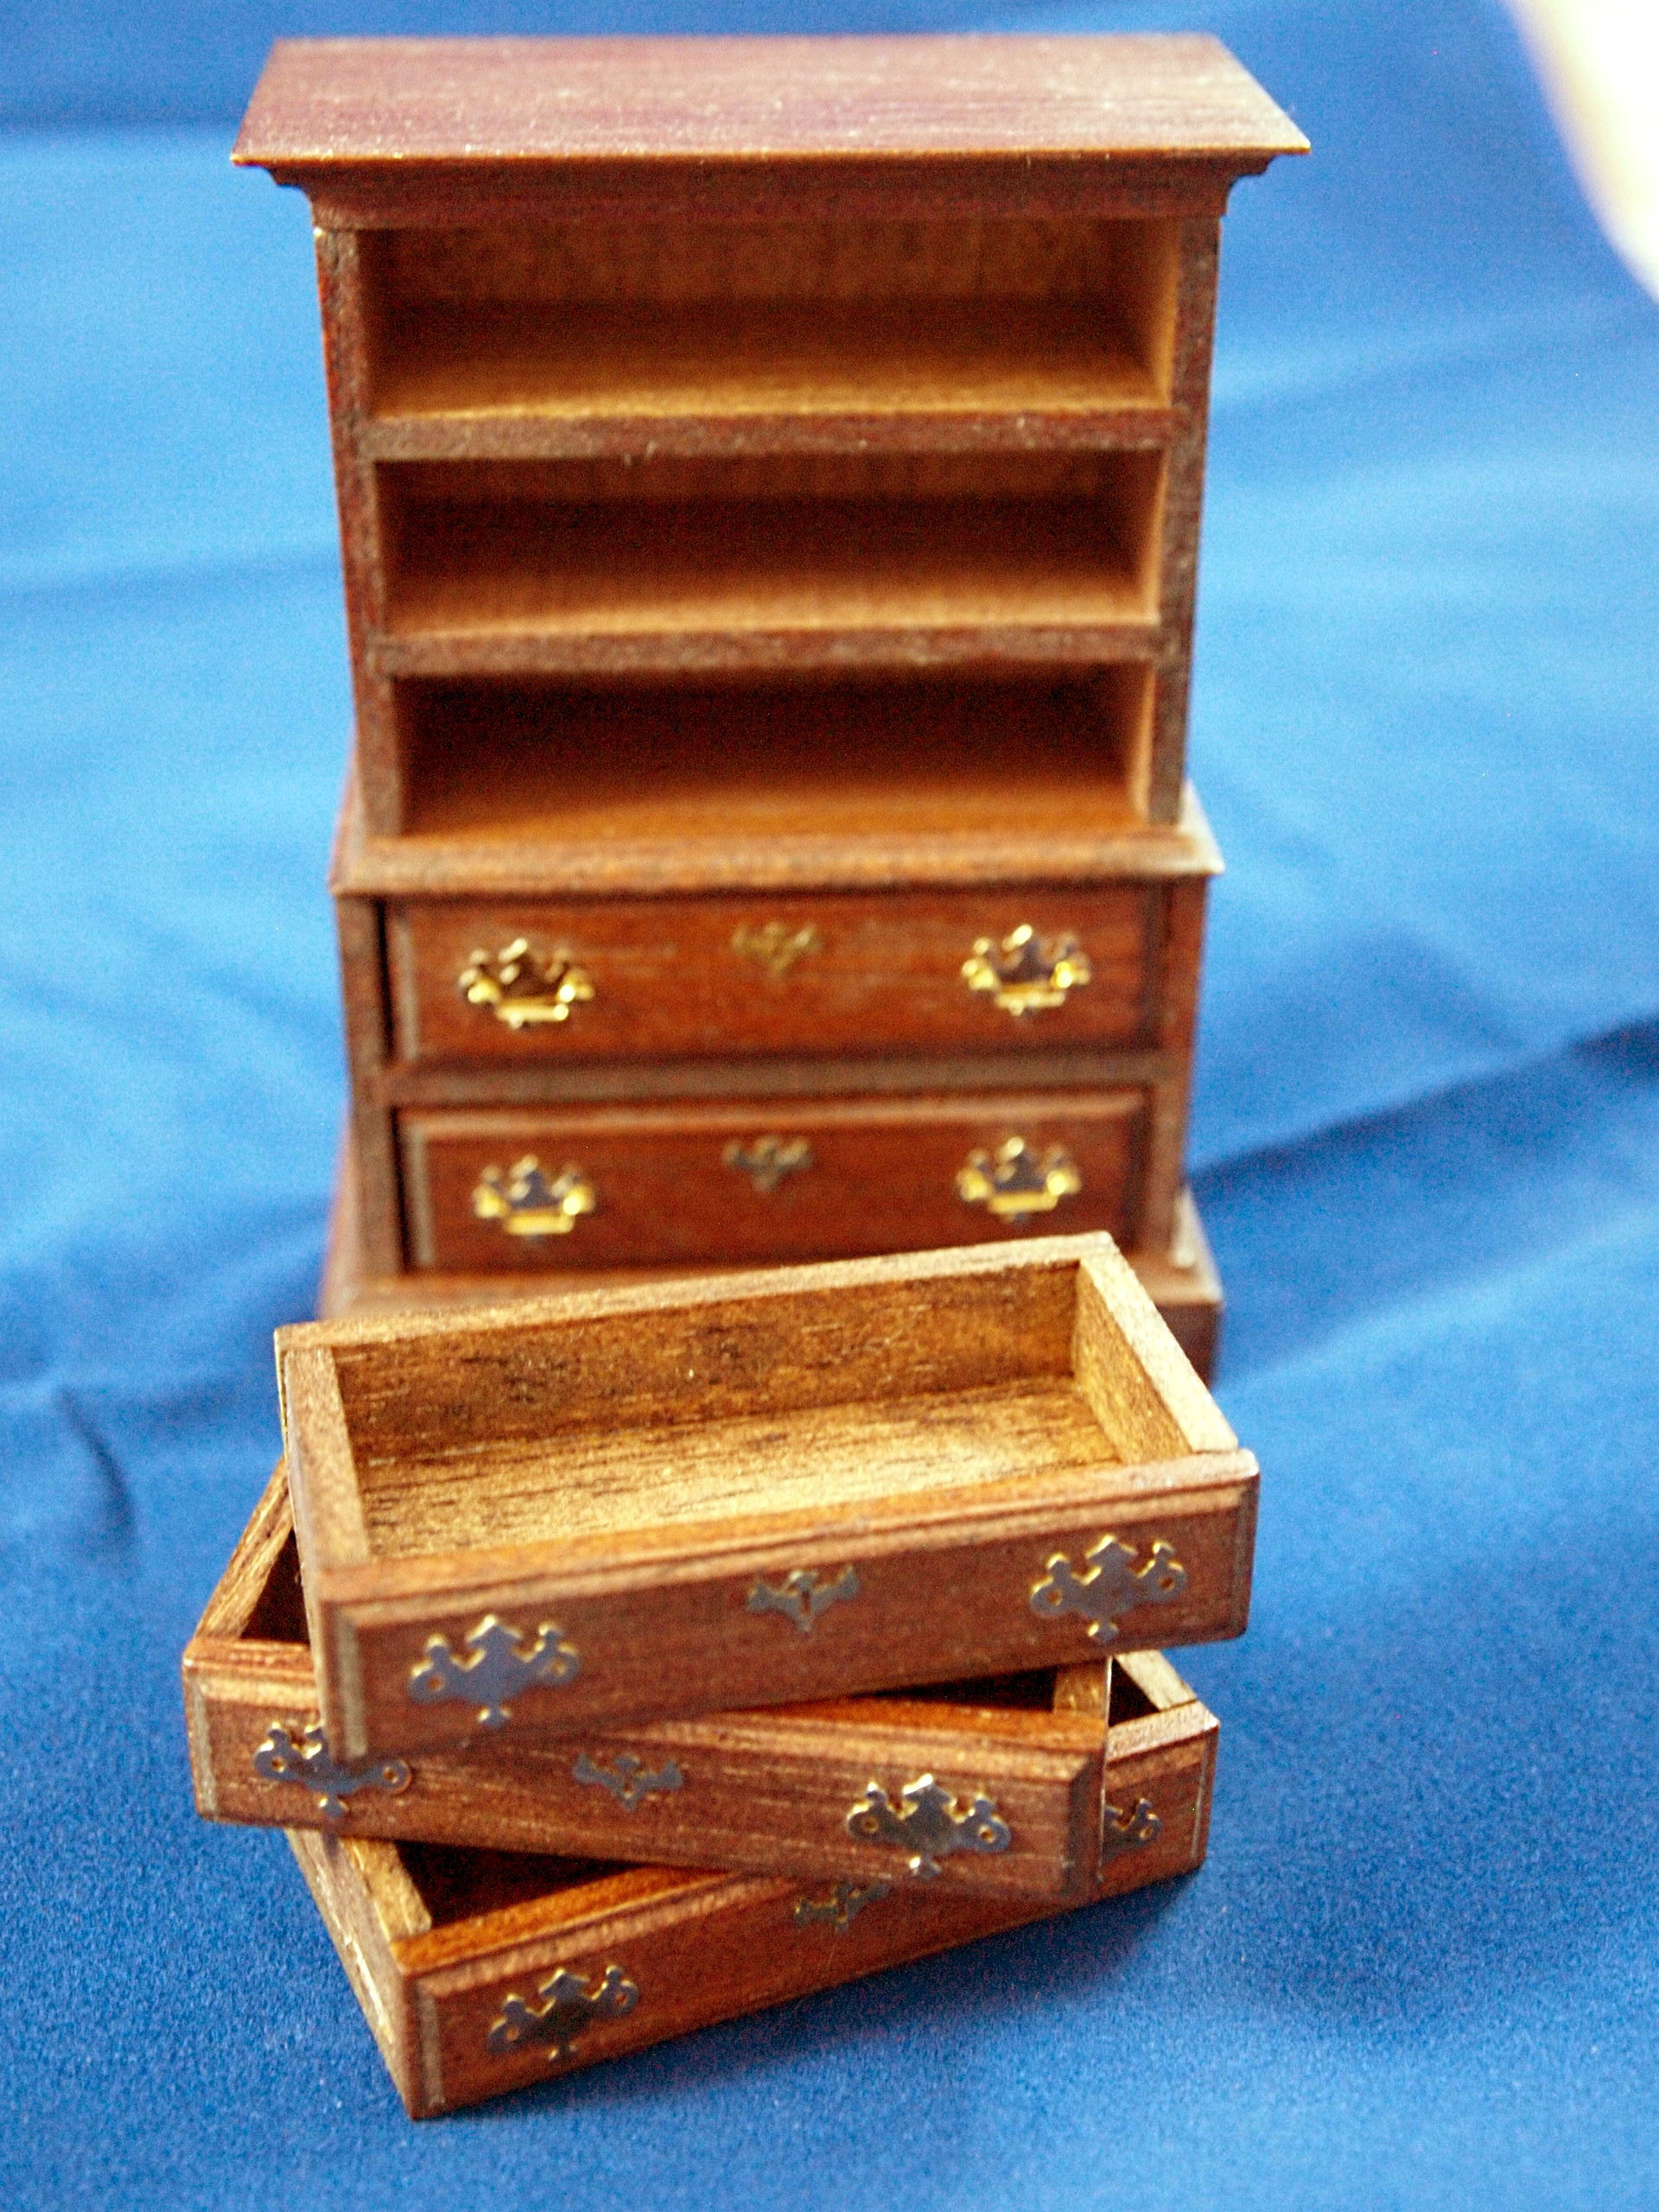
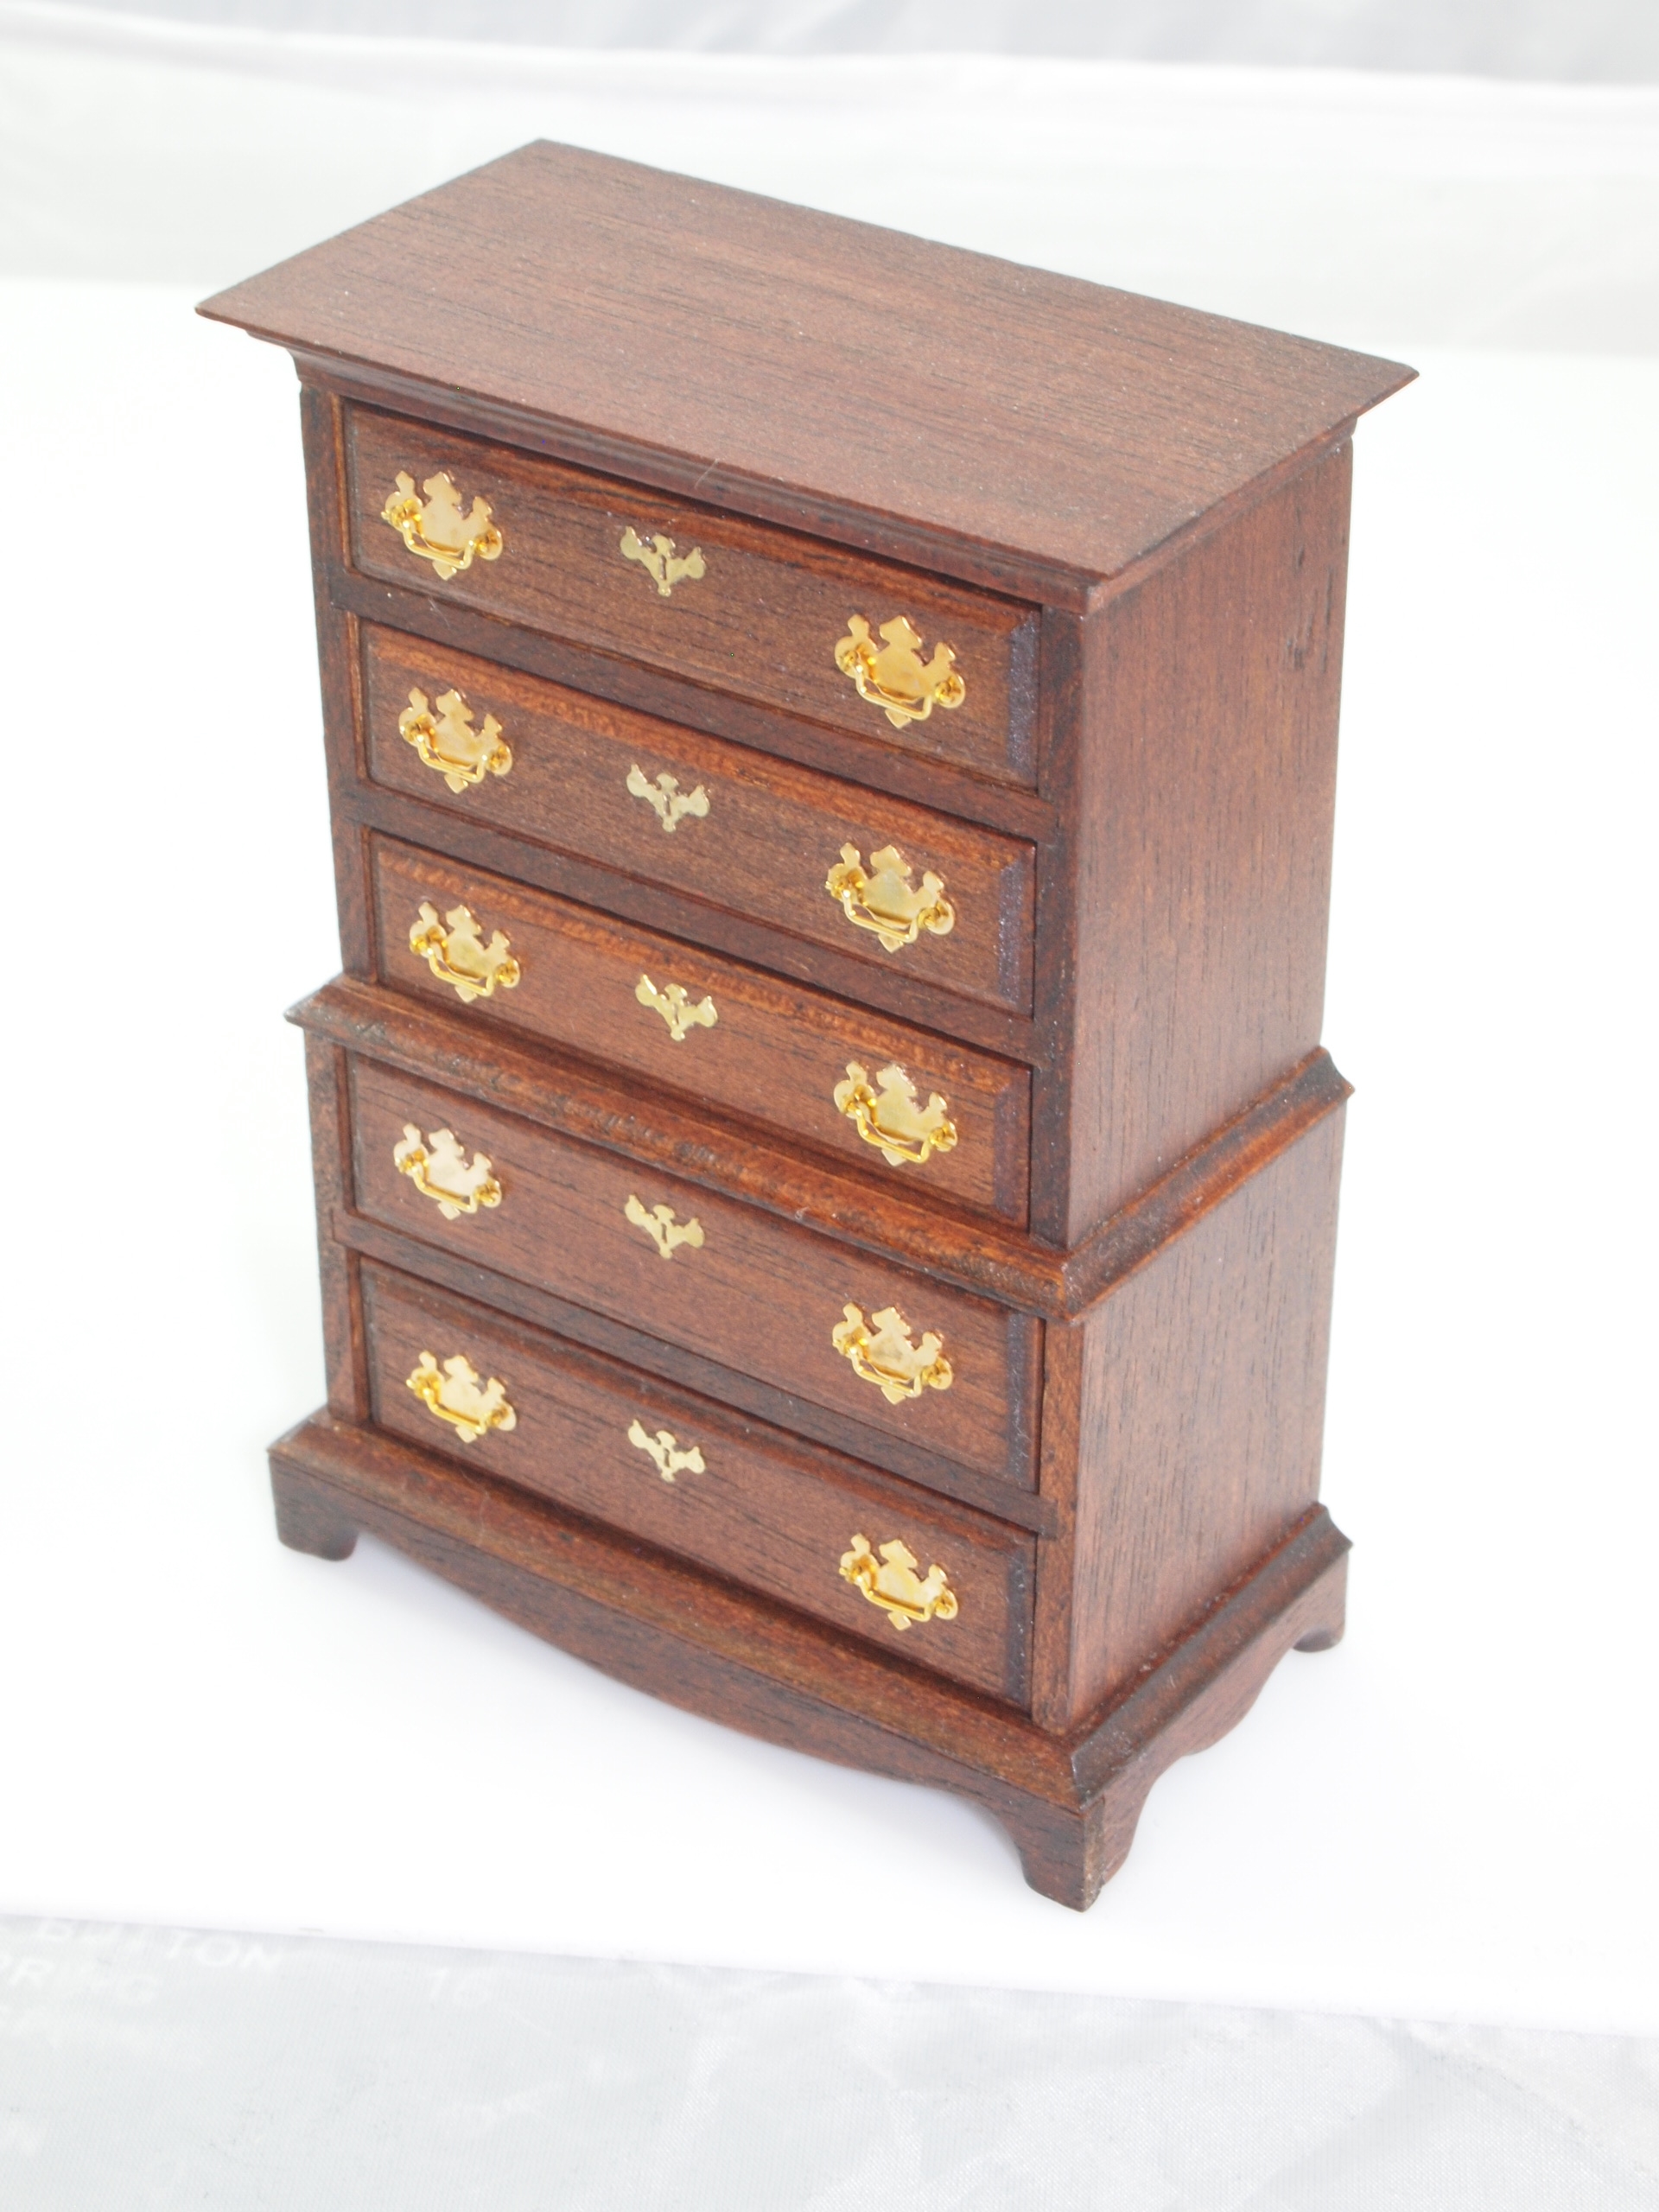
When I’m building my kits (here I’m doing kit # 40009, Chippendale Chest-on-Chest) I’m always looking for ways to improve both my skills and the look of the finished product. The kits were excellent quality from the start, but there are always compromises when creating miniatures and with creating commercial products.
The bale and escutcheon compromise on the original kits was to use a single piece of wire that is bent into a shape that resembles a bale. My disappointment with that compromise is that they don’t jiggle when you move the drawers. A minor point at best, but miniaturists major in the minors as a hobby!
To Scale or Not To Scale
On a full-sized escutcheon, the bale fits into either a socket that is part of the face plate or the cap of the bolt that holds the escutcheon onto the drawer front. So using a cotter pin to attach the escutcheon is a really elegant solution. The cotter pin passes all the way through and is bent open inside the drawer to hold it in place. In use it looks very authentic due to its size being to scale.
The spade eyelet is just pressed into place, so you need to get it straight and press it in carefully without bending it. I have used needle nose pliers to hold it while inserting it with good success.
Inserting the bale is very easy with this type because you can bend the eyelet out slightly and then straighten again to hold the bale without pinching it.
Tight Spaces
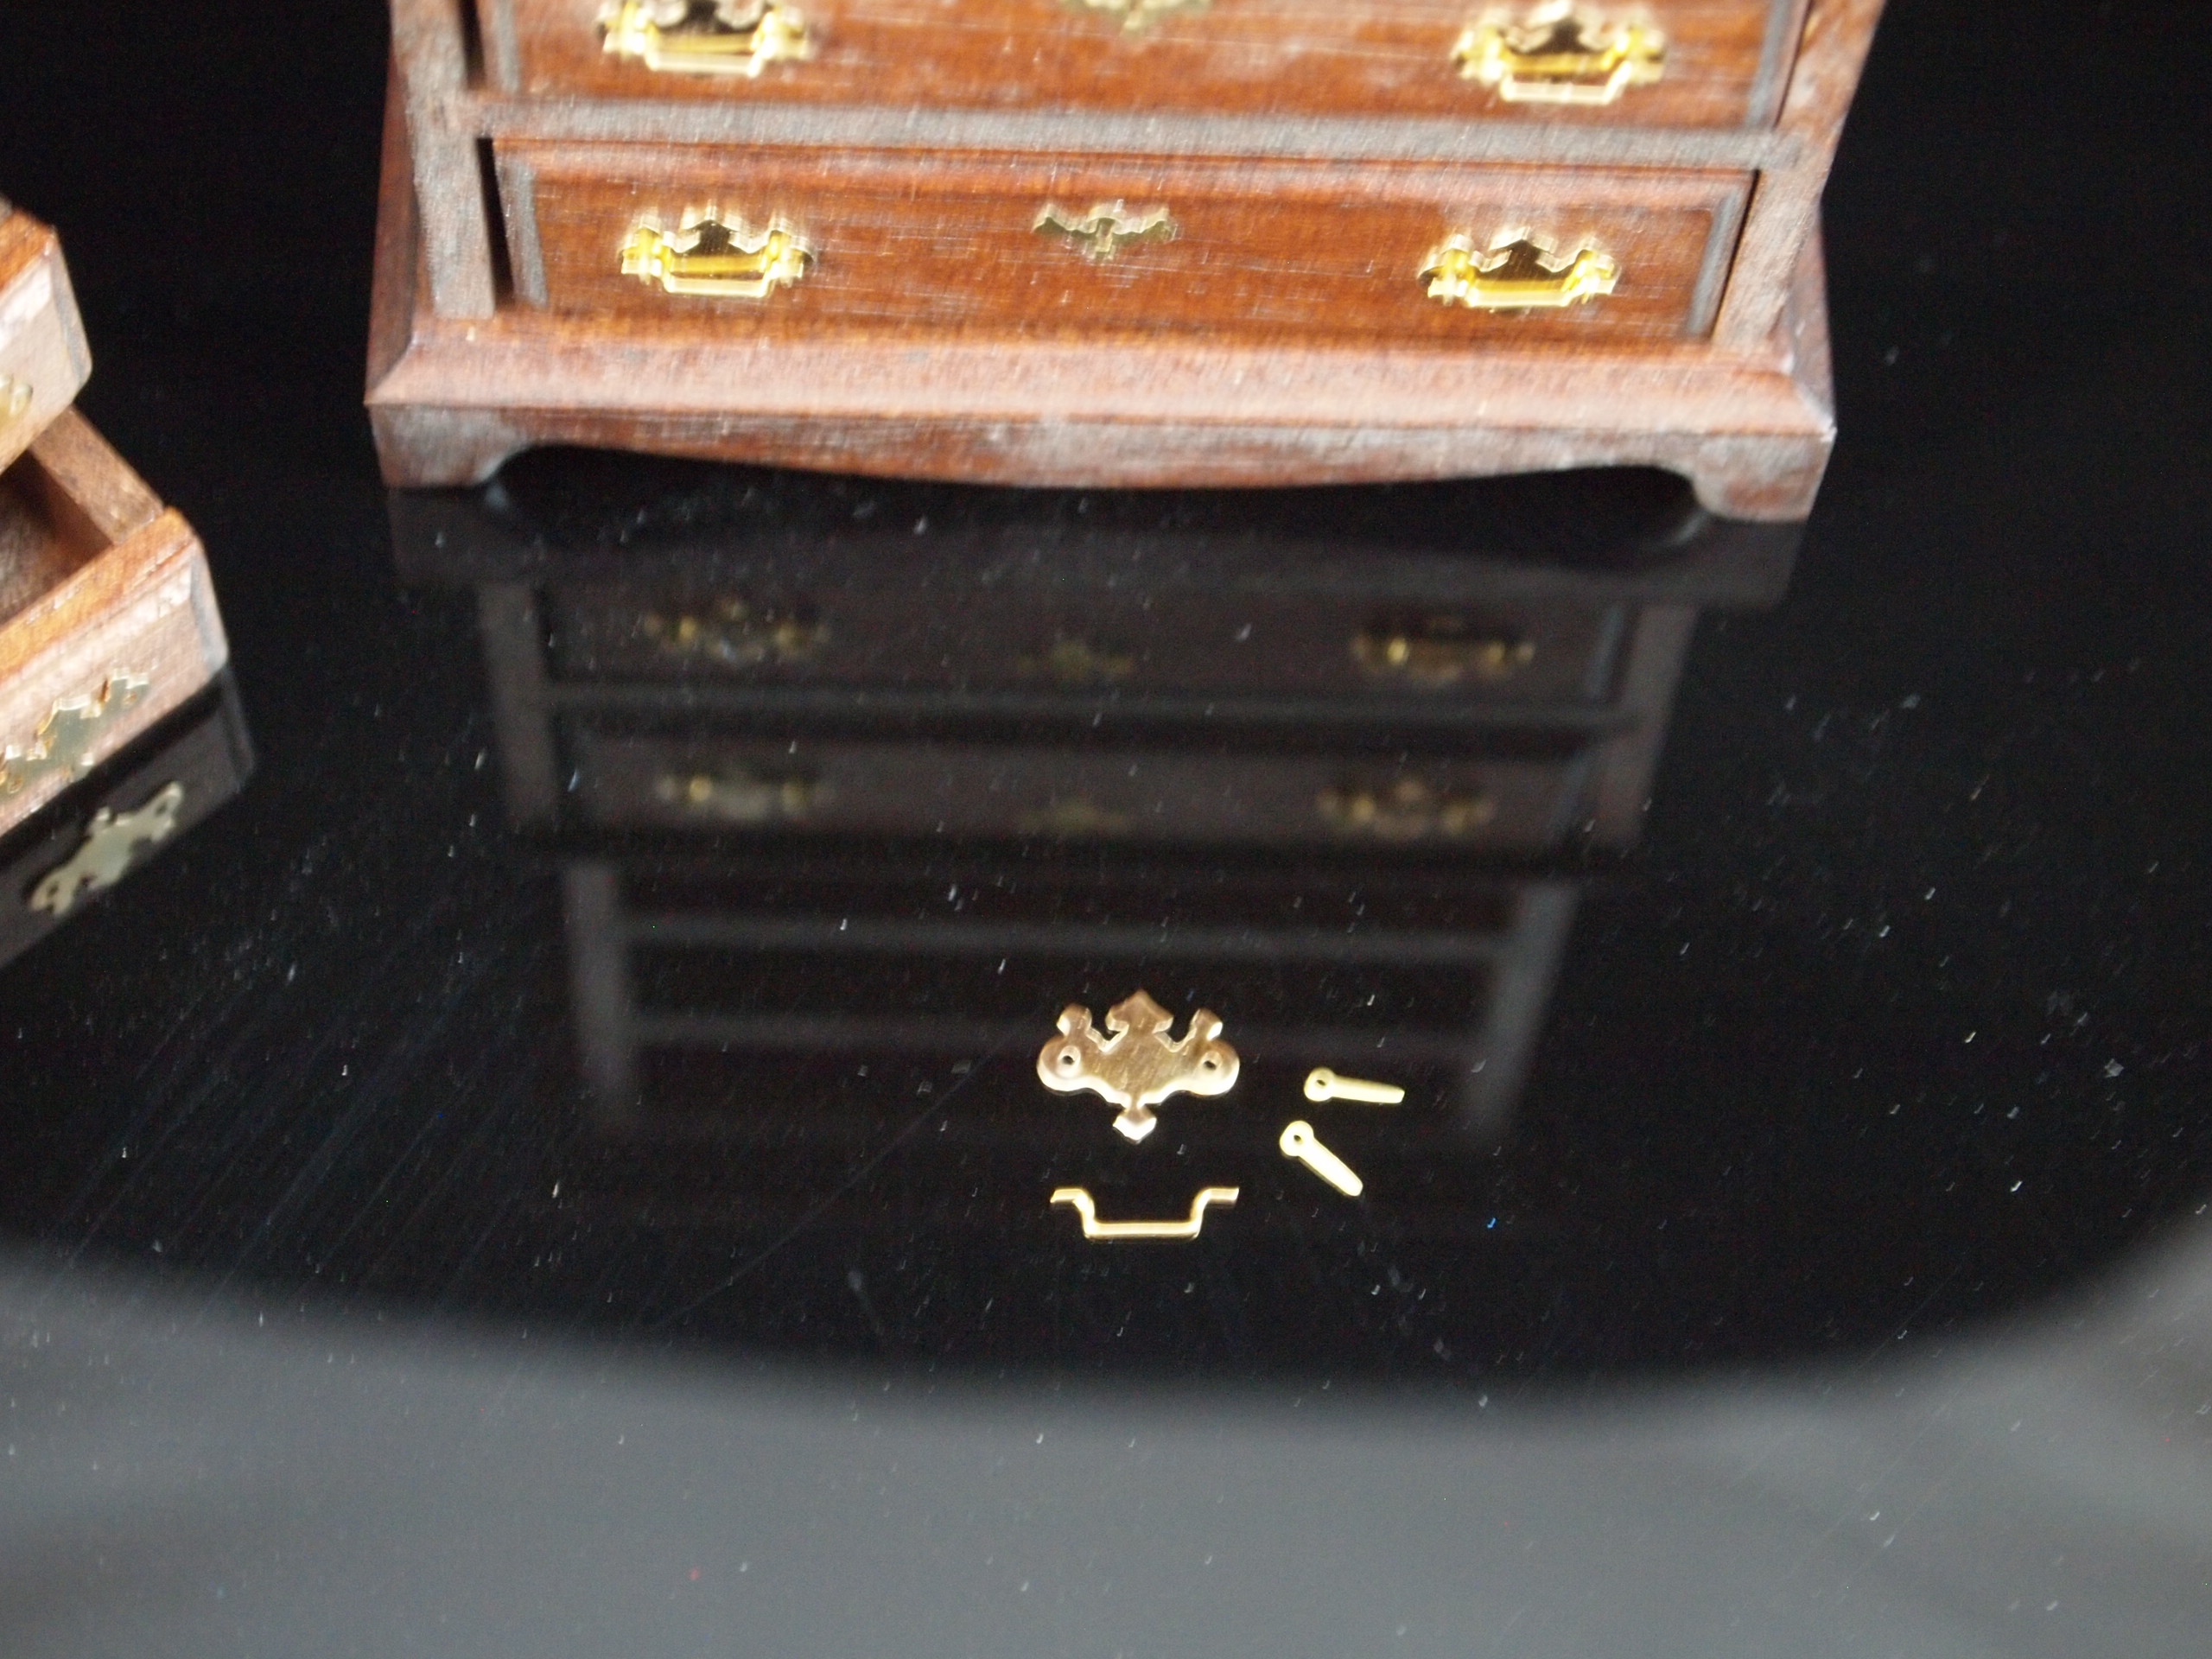
With the cotter pin style there are two choices for placing the bale. The first sounds easy; just bend the bale slightly and then bend it back once inserted. But bending it wider requires gripping both ends at once, which is a challenge in the tight space you have, while also keeping it in place. With that method I dropped the bales a lot.
The other method works better for me. I put the second cotter pin in about half way, insert the bale, then press the pin in the rest of the way and spread the pin ends. Works much better for my short, fat fingers!
Worthwhile Results
It may seem like a lot of extra trouble, especially on a piece like this with ten bales. But the results are much more pleasing to the eye, and the ear, than the little bent wires.
Have you ever tried miniature working bale hardware on your kits? Which type have you used? DO you have a preference? Thanks for stopping by!
3 comments
Comments are closed.