
Building The House of Miniatures kit number 40011 (Chippendale 3 Drawer Chest) is a great project for beginners and many Collector Club members received this as their second or third kit. I recommend this kits for youngsters, from about 10, and oldsters like me, too.
Building skills and confidence are two great goals with this kit. Have you ever shared your miniatures hobby with friends, children, or grandchildren? Building The House of Miniatures kits can have an amazing and lasting affect on people. Who can you introduce to it?
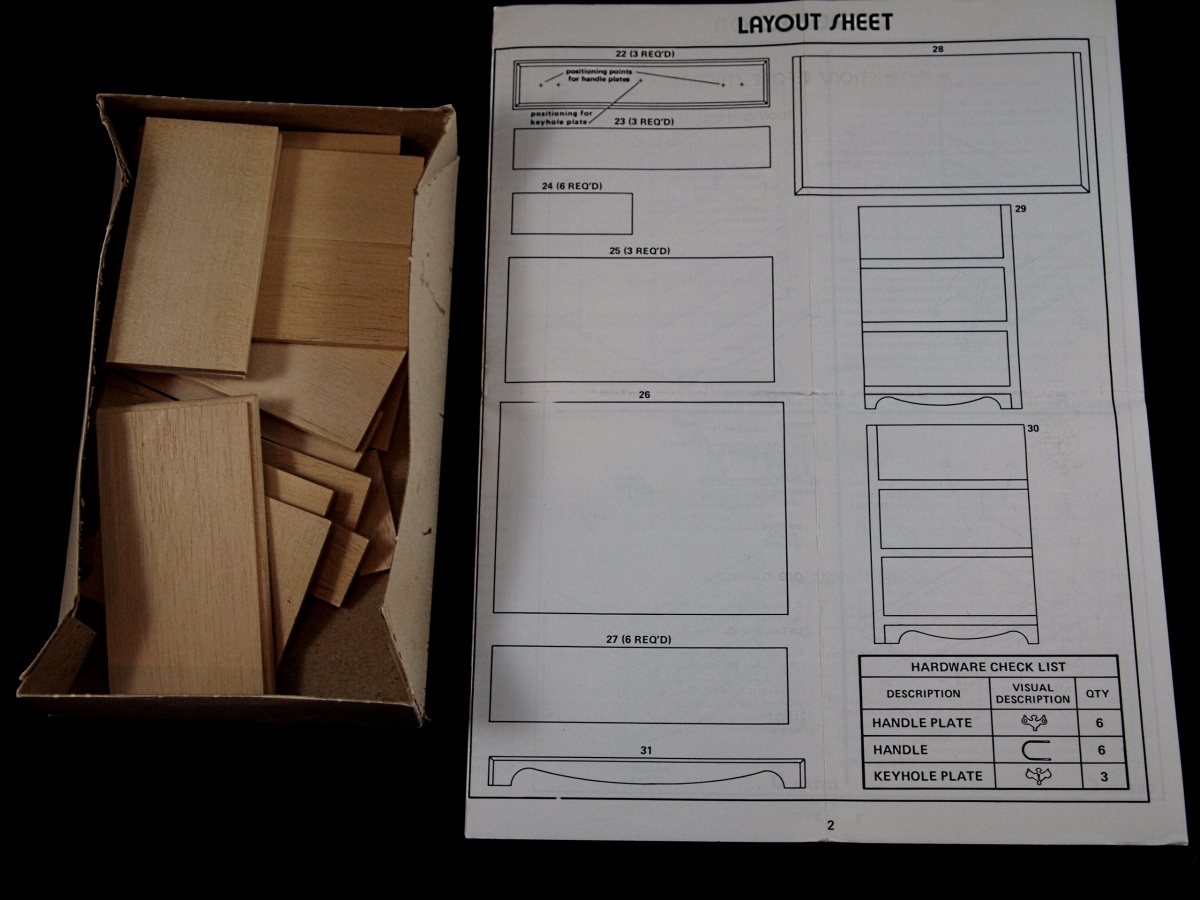
Laying Out the Parts and Making a Plan
When I was younger I didn’t have patience for instructions. I had a good idea of how to put together a model or toy, so I treated the instructions as optional. Until I got into a jam.
These days I know a lot more about how things should go together, but I also have the wisdom to read the instructions carefully. I have written instructions professionally, so I understand that many manuals are badly written. The House of Miniatures instruction sheets are thorough and well-written, so there is no excuse to ignore them.
There are several reasons to use the layout sheet. First, the instructions tell you to 🙂 Seriously, even in a sealed kit, it is possible for parts to be missing, wrong, or warped. Laying them out like this will give you an early warning.
Additionally, laying out the parts will get you familiar with them before you start working with them. You don’t want to glue the wrong part into an assembly and then have to saw it off! Who has made that mistake? Yes, my hand is raised.
Missing Parts
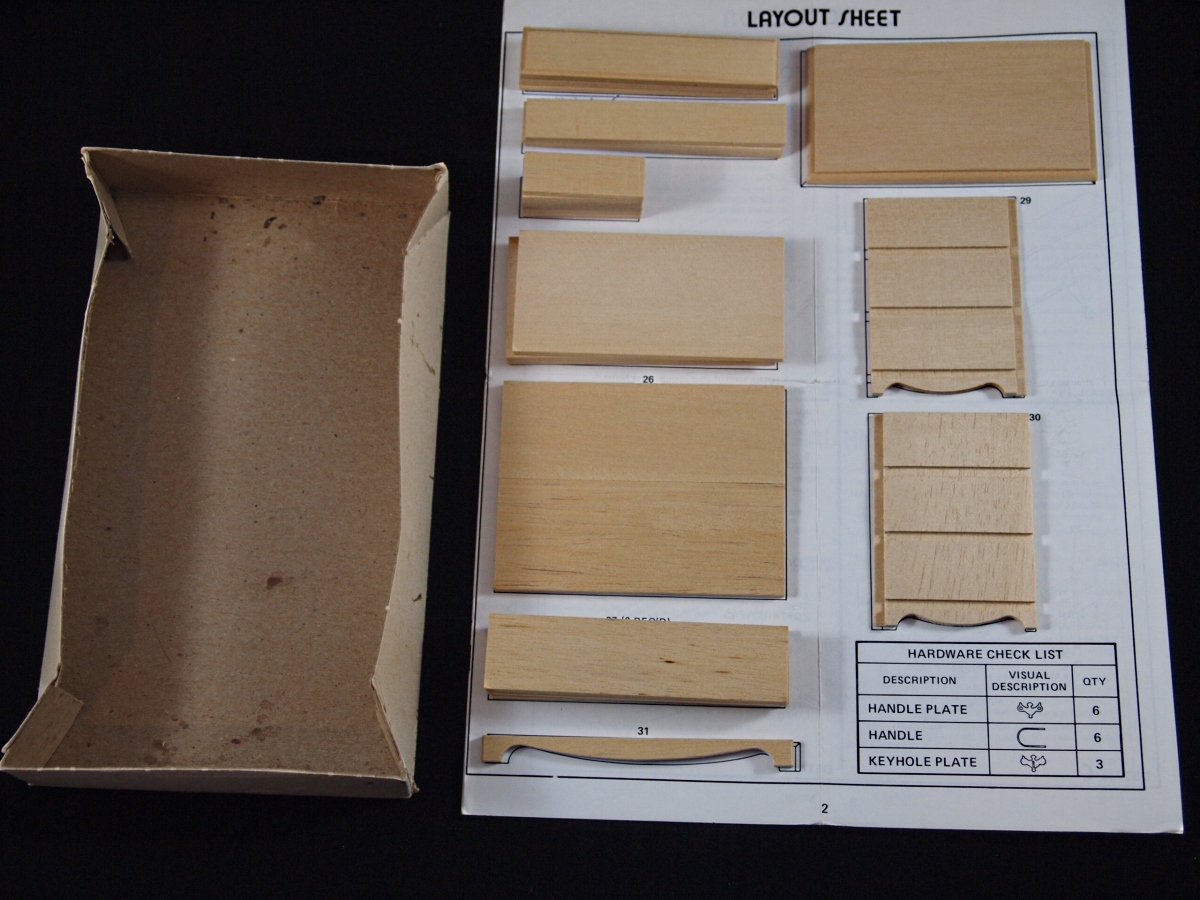
This kit I am working with was missing three parts. I expected that. It came without a box and the bag was taped up. All of the small parts were there, but two of part number 27 (shelves) and part number 26 (the back) were nowhere in the box of miniatures.
Knowing what I was missing, I was able to make these simple parts from basswood stock that I had on hand. Using the layout sheet for the dimensions (hello, yet another great use for layout sheets), I measured twice, cut once, and did a lot of sanding. The thickness is off slightly, but the fit was fine.
Parts Preparation and Glue Selection
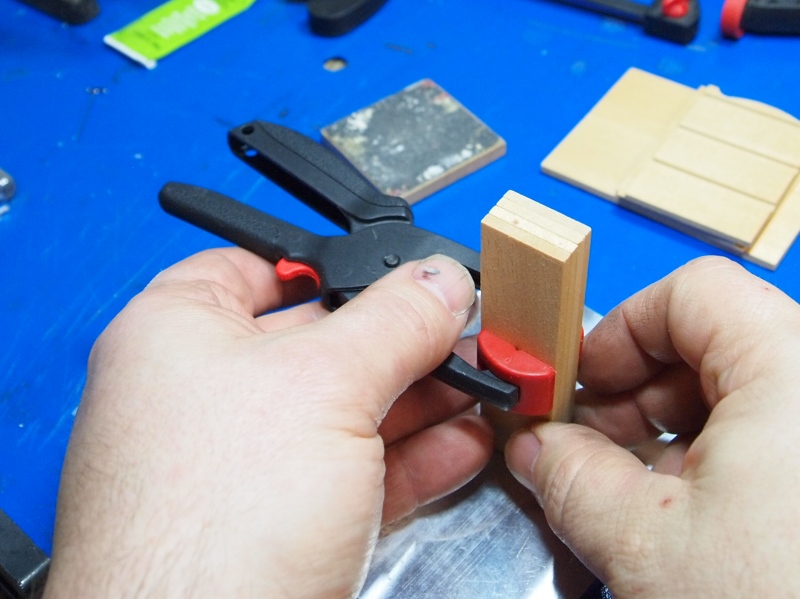
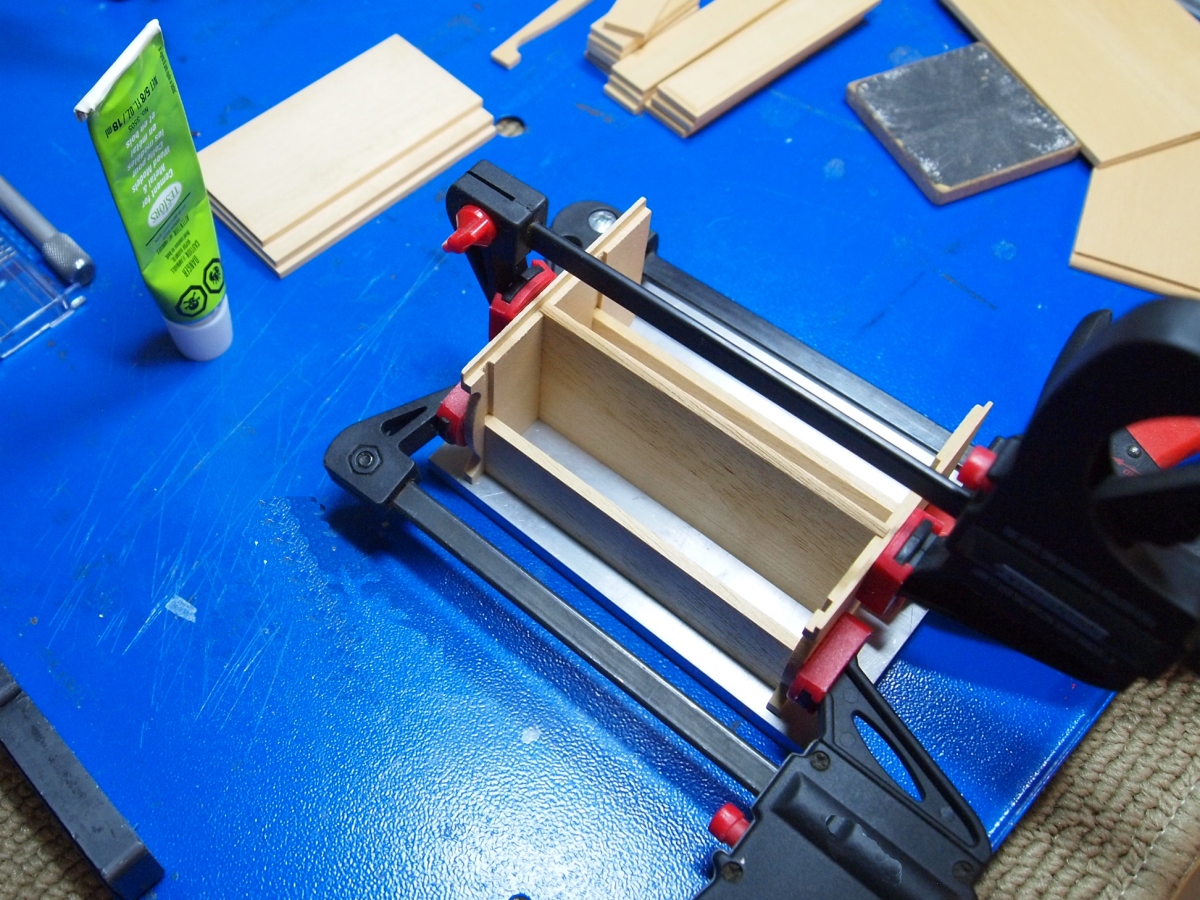
The next step in the instructions is sanding. These wood parts are old, so you should sand every surface to ensure good glue and finish adhesion. But, heed the instructions. Take care not to round the sharp edges. In the picture above I clamped the shelves together in order to help keep the ends square and even.
In the instruction I have, they suggest securing sandpaper to a flat surface. One of my sanding blocks is in the background of the picture above. Sanding blocks and jigs are the best way I know of to keep your ends square.
Also in that image is the little, green tube of Testors wood glue, which I wrote about in a review awhile back. This is one of the builds where I tested the glue and it worked great on bare wood. It doesn’t sink in deep so it is a bit more forgiving if you are planning to stain because you can sand it off. It also works well if you stain first because it adheres strongly without needing to sink in like a white glue or standard wood glue.
Furniture Kit Assembly
Finally, it is time to actually build the kit… oops, don’t forget the pre-build fit tests! Yes, do test fit things. Sometimes the fiddly bits are a little off or are slightly warped due to age and moisture. Now, before you apply glue, is the time to figure out if any slight adjustments need to be made.

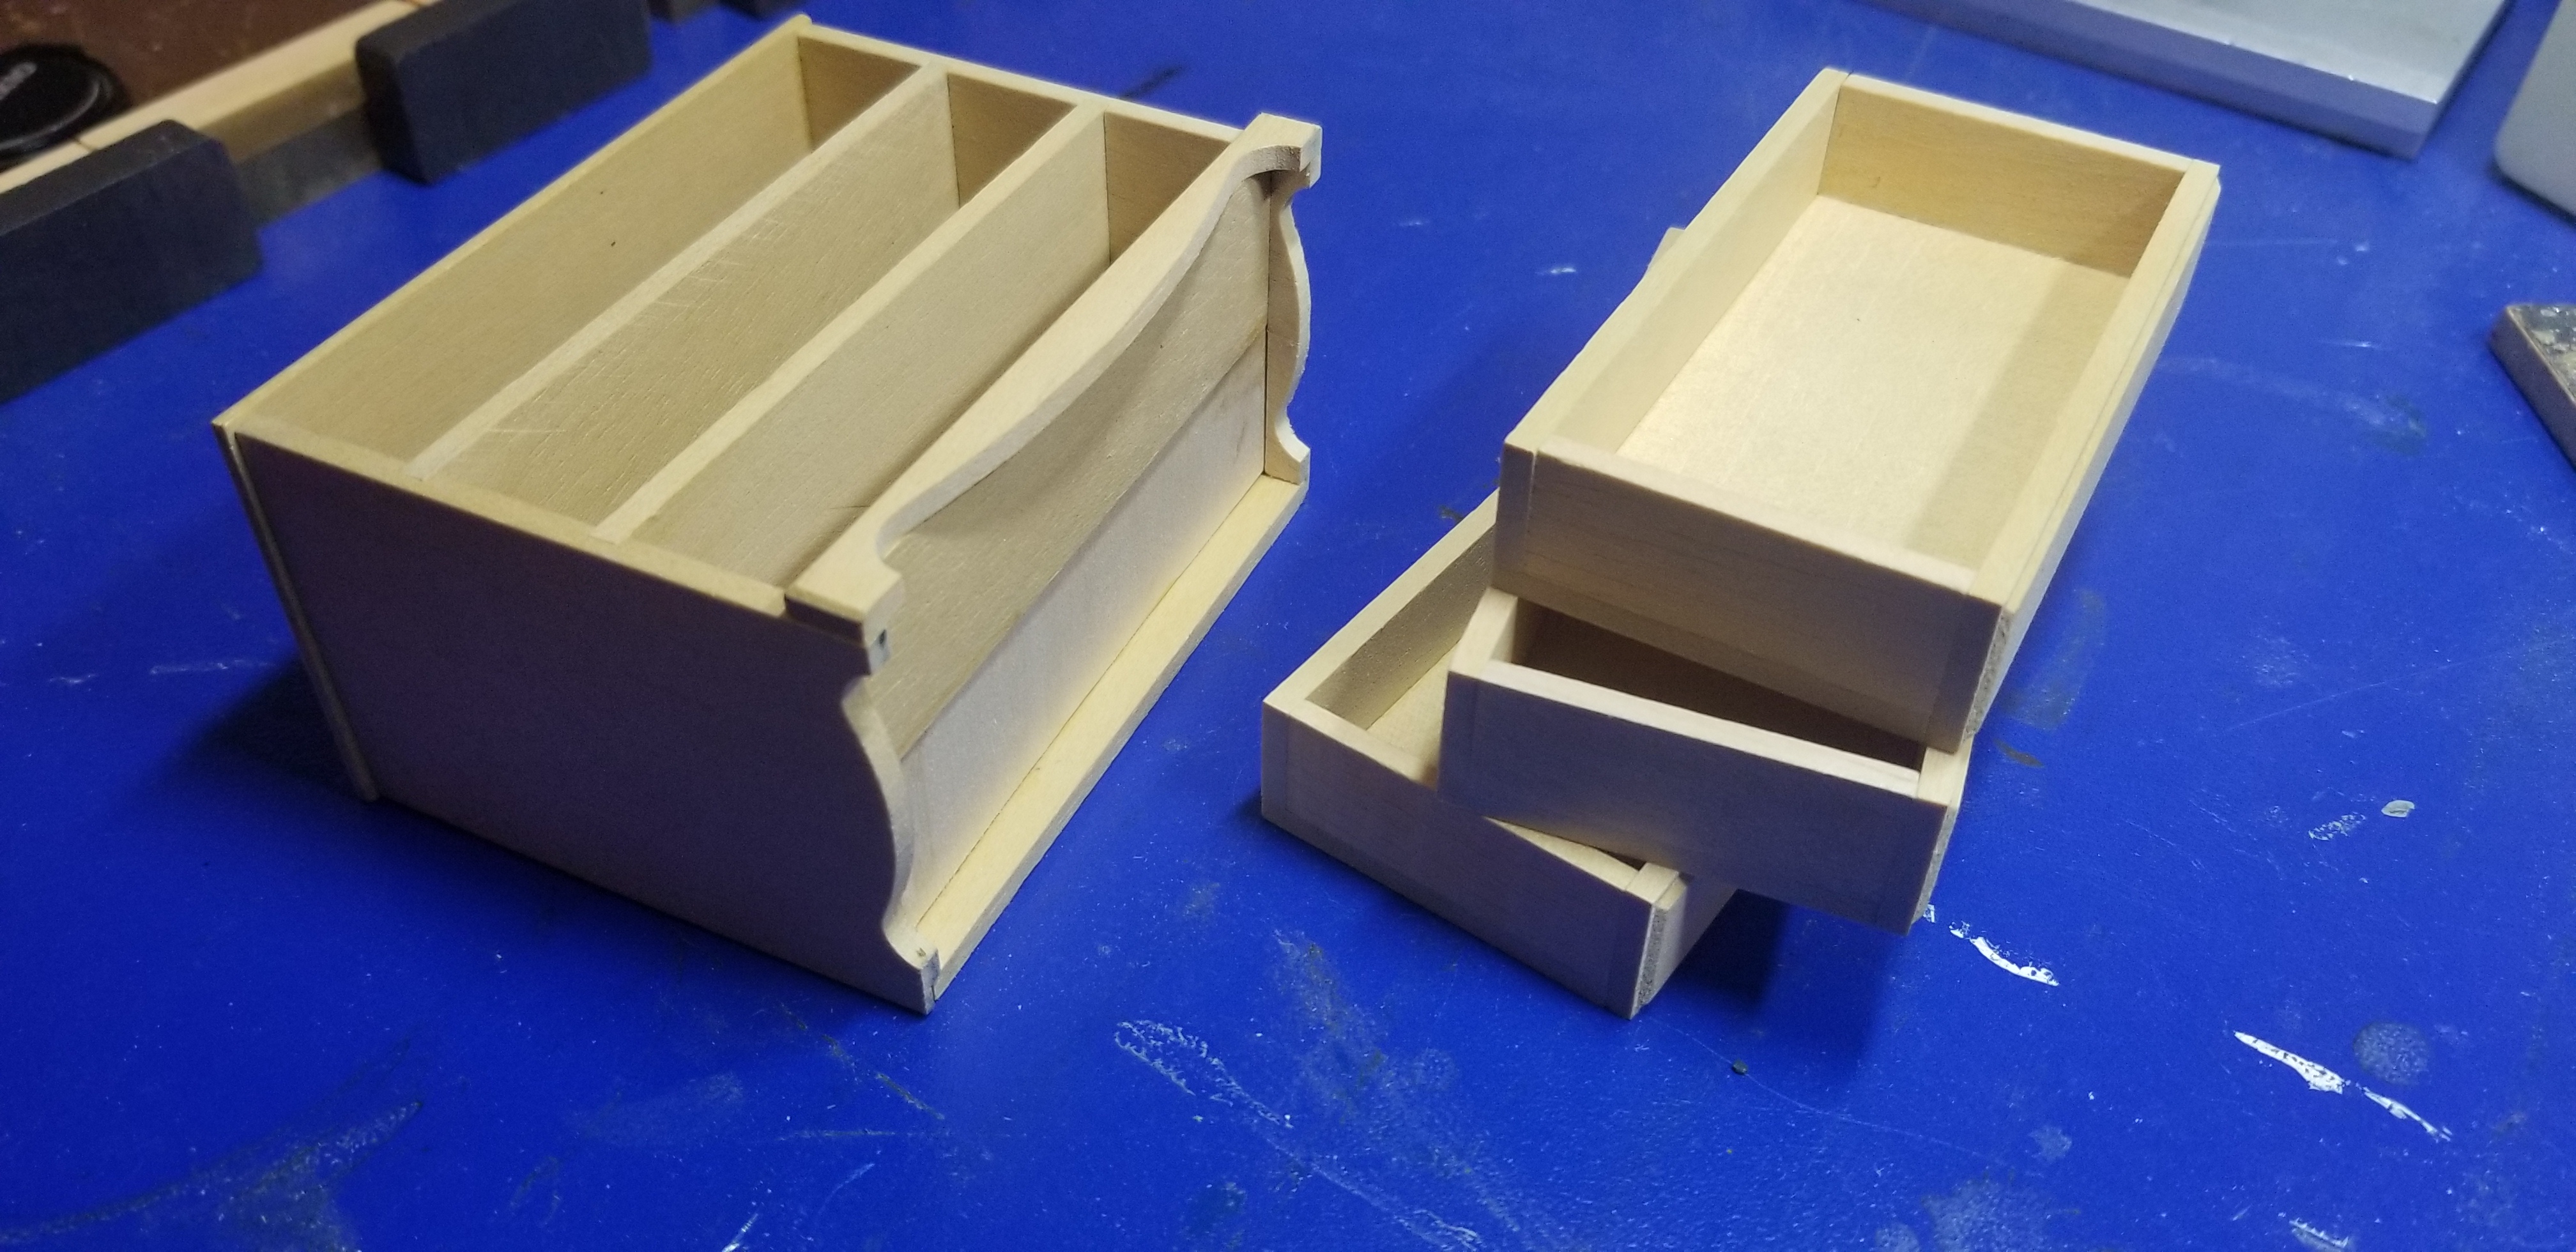
Now! Finally we are building. And there is something important to note in the first step. Assemble the shelves and sides together (step A) with the front of the dresser facing down on a very flat surface so that the front edges of the shelves line up with the front edges of the side perfectly.
It is very important that this first step comes out square and tight, so I recommend clamps. As you see here, I used the original parts (no. 27) for the front of the shelves so that it would look right. I later glued in the pieces I had made, which I had to push up flush with the front pieces so that the drawer would sit flat.
Back and Top
Glue the back in place while the assembly is still laying on its front. Be sure the back is flush with the top edge of the sides, or slightly below. The top will rest on the two sides and be flush with the back.
No matter what type of glue you are using, I recommend toothpicks as applicators. Put a tiny puddle of glue onto a little square of wax paper, break off the tip of the toothpick so that the wood fibers act like a brush, and apply small amounts of glue to both pieces of wood, or as the instructions say.
Before adding the front skirt, be sure all of the front surfaces on the dresser are flush and that any glue is sanded off. The results should be a tight, even fit that is ready for stain.
Drawer Assembly
One nice thing about building The House of Miniatures kit 40011 is that the drawers are all the same. The chest-on-chest (kit 40009) is a lot like this kit, but the different drawers can cause confusion for beginners.
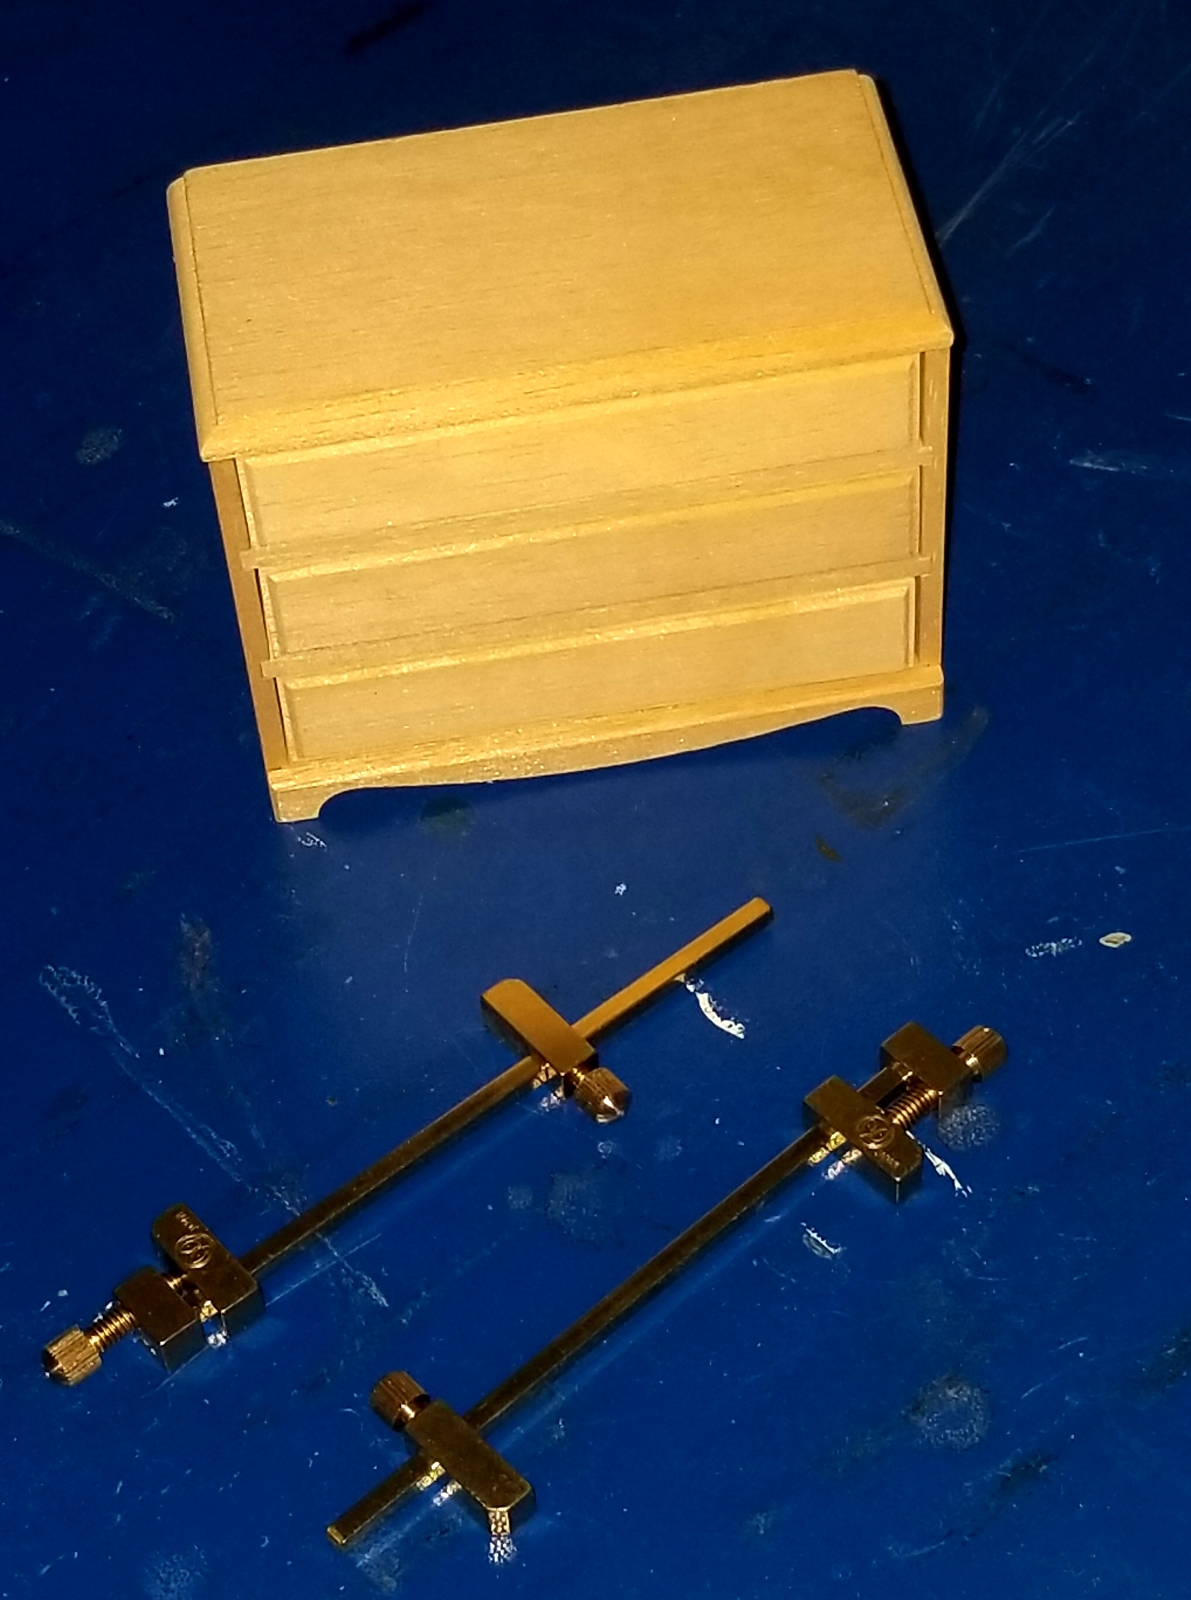
The instructions may say to make the holes for the hardware prior to assembly, but I have tried it before and after and I prefer to do the assembly first. Having the whole drawer to hold onto gives me a better grip. In this build I am using upgraded hardware with working bales, which I get from Hobby Builder’s Supply. I just love the way the bales flap, just like on the real thing!
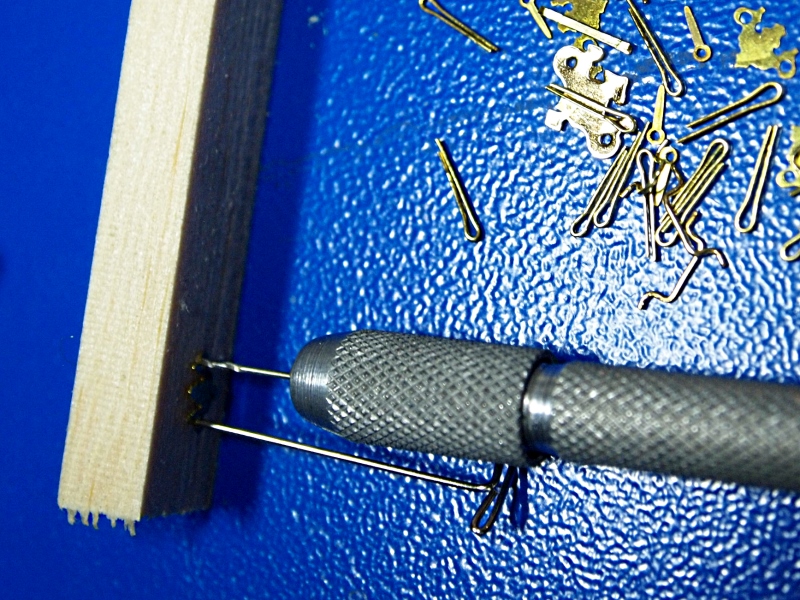
Whether you drill out your holes before or after assembly, I recommend using a twist drill rather than a push pin. The pin method requires lots of pressure, which can lead to slips or breakage. As the instructions say, use the plates (escutcheons) for spacing either way.
Once more, I’m going to mention keeping the assembly square and the ends flush. It is so important, both to the looks and to the operation of the drawers
Final Thoughts
Finishing with stain or paint or whatever you fancy is not a topic for this article, but I will say a few words about drawer fit and finish application. DO test fit the drawers and sand the drawer sides smooth. DON’T apply finish to the inside of the shelf (drawer hole) or the sides of the drawers. Paint adds dimension and stain will raise the grain. Either one may cause fitment problems.
Have you built this kit? I think this was my third time building this model. Are you planning to stain or paint yours? I’d love to hear about your builds and your collection. You can leave a comment here on this article or join the community in the Facebook Group and see what others are doing with their builds.
I joined The House of Miniatures monthly kit club as part of a project with my daughter back in the early 1980s and have nearly if not all the kits still in their original boxes and stored in file boxes. As often happens with family intensions, my daughter and I only built a couple of the kits. Now my daughter has a little girl and wants to continue where we left off. Back in the 1980s, stains and finishes were available through The House of Miniatures which gave a great finish to the 1/12 scale pieces. I have tried regular home stains on small pieces of Basswood as an experiment but not happy with the results as the pigments are not fine enough. I’m looking for recommendations on which stains and finishes that give the same quality as the original The House of Miniatures finishes. Thanks
Thanks this was very informative. I had my 10 year old granddaughter do a couple of kits and she love doing them.
I followed the instructions and look at your web site for any other ideas.